Your cart is currently empty!
Tag: cameras
Ikoflex II – Example Images
I have really enjoyed using my Ikoflex II (851/16), I think mainly for the square image format, but secretly, also for the joy of taking out into public such a beautiful camera.
The square image format means that you need to switch in your mind your field of view. I found this transition reasonably easy to do, although you might disagree once you have seen my pictures! Essentially, you need to fill more frame, and this leads to compositions that were not possible before, and are also a little rarer on the internet due to the lower numbers of square shooters.
Unfortunately, you are restricted to one lens with this camera, a Tessar 75mm 3.5 aperture. Whilst this is a great lens, there are some shots that I know it will struggle with, such as the poppy in my “Yvorne” print below.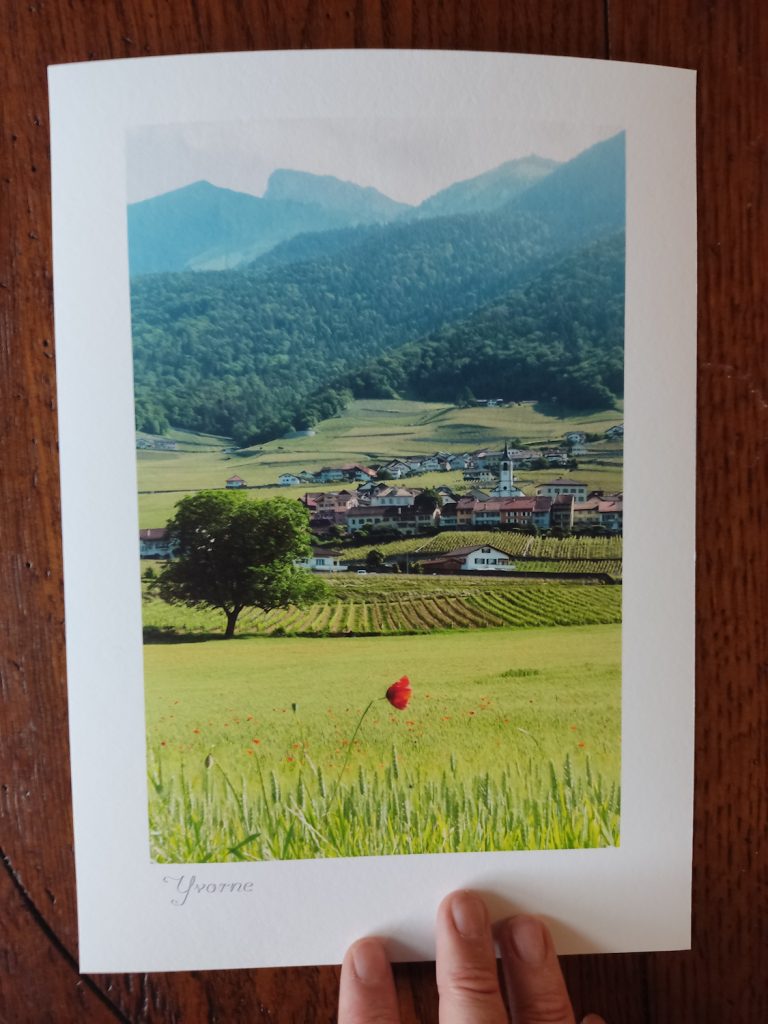
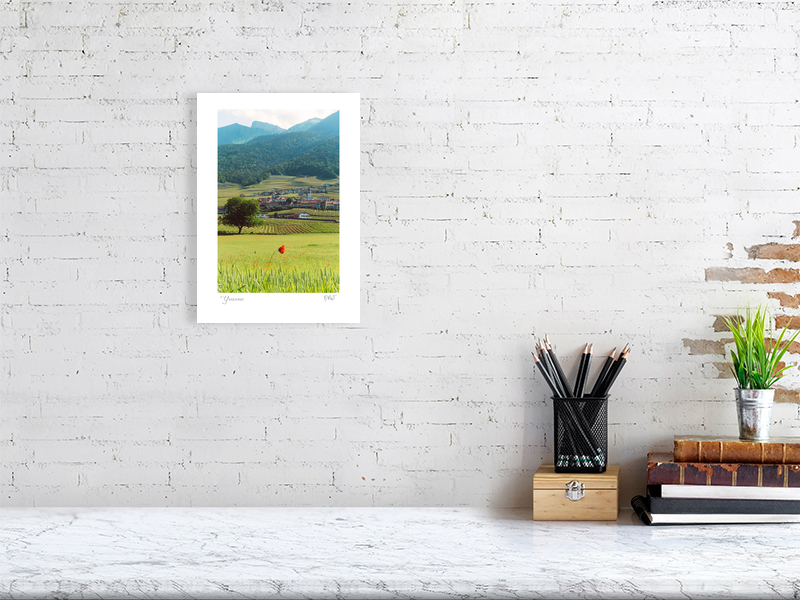
Yvorne, Switzerland – Red Poppy Fine Art Swiss Alps Photography Print
Size: 21cm x 30cm, 8.3inches x 11.7inches, Frame: Print only
CHF 40.00This was taken with a 50mm manual focus lens on a digital crop sensor body, so closer to 75mm on a 35mm. Of course, on medium format, the lens you would actually need would be around a 110mm, based on this forum post (https://www.photo.net/forums/topic/330951-6×7-equivalent-focal-lengths-in-35mm/). So with the standard Ikoflex II lens, flowers would be very much smaller at the same distance. The reason I’m saying this is that although I love my TLR, I do need another camera to be providing other focal lengths.
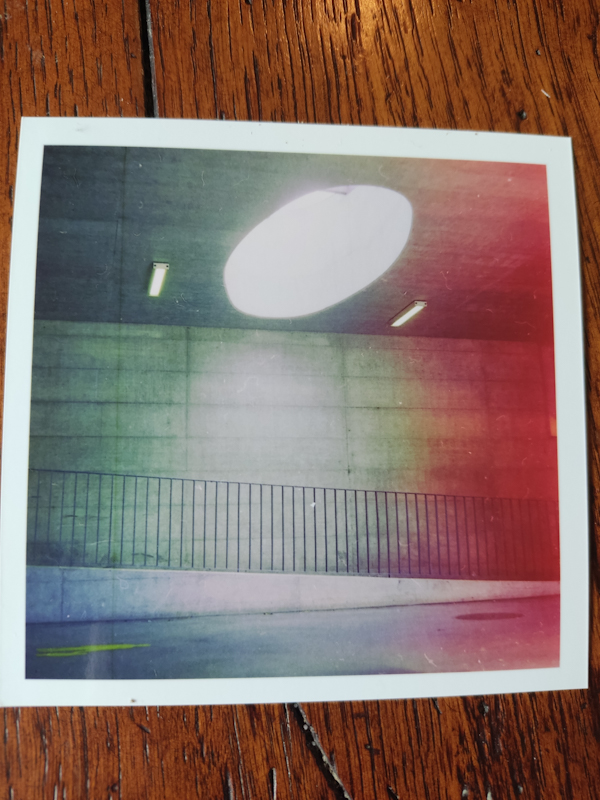
Then of course there are times when you need to go wider. But as long as you are not trying to replicate a shot taken on another camera, ie. your camera phone on a square setting, then you should be able to get some pretty nice shots. Below I show a comparison between a camera phone pic, and my “replication” on medium format. The medium format shot needed to be cropped heavily.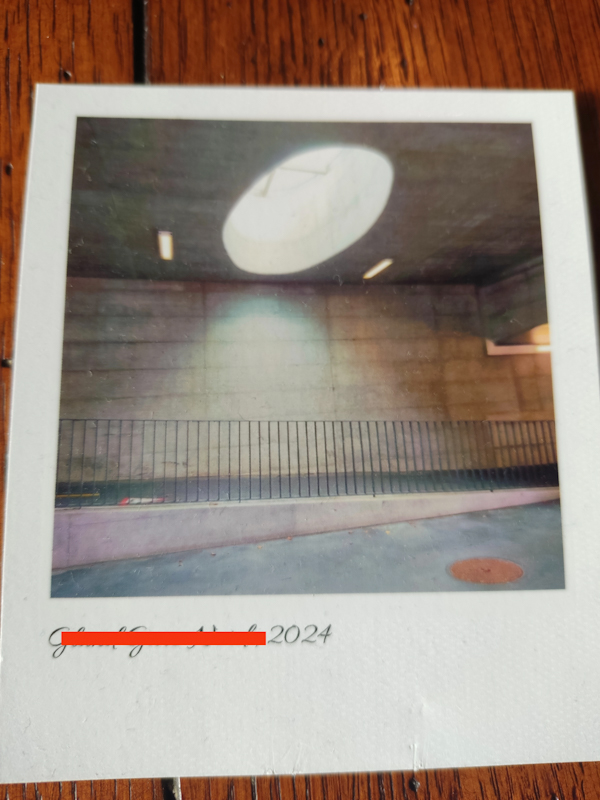
Here’s another comparison. This time I changed the scene composition slightly from the phone shot to the medium format. I also had to step back a lot further.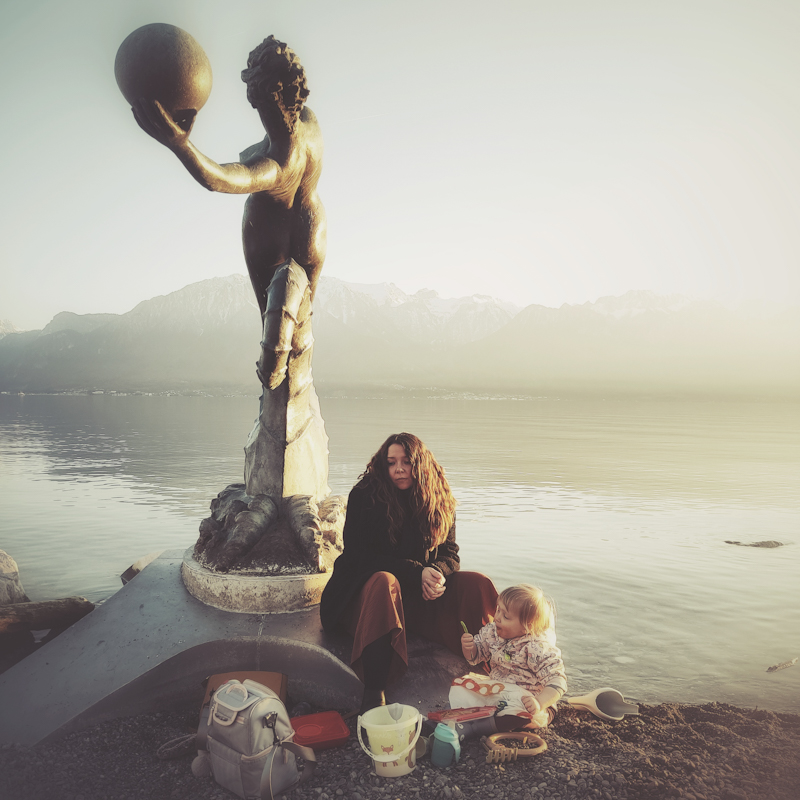
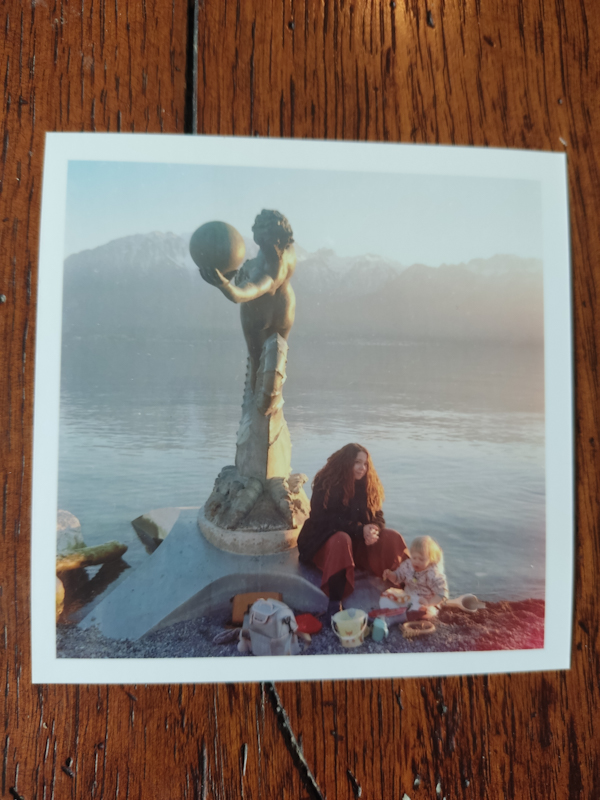
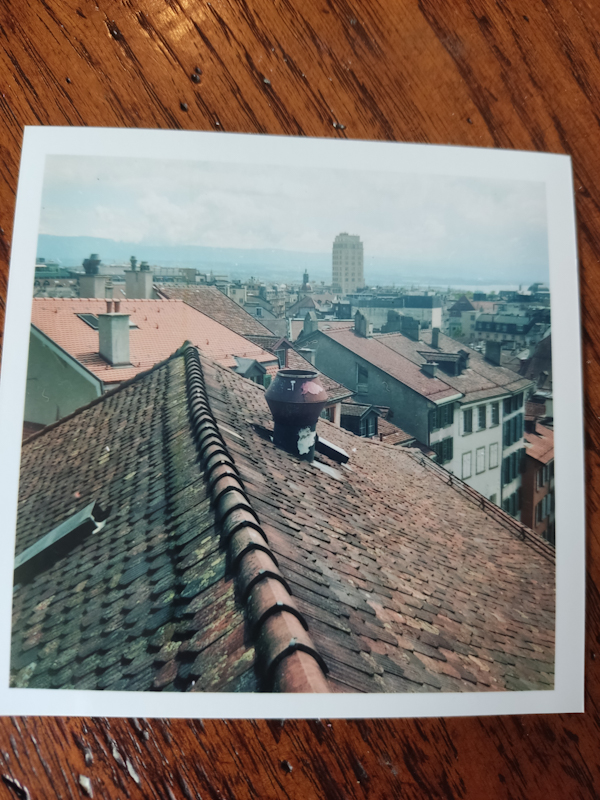
For portraits, this camera is quite difficult. I think its main issue is the focusing lever. Although the focusing lever is art deco gorgeous, I would probably get the dial given another opportunity. It’s just very difficult to make micro movements. Plus, it continually comes loose, meaning I have to re-tighten with my fingernail.For detail, medium format is a big step up from 35mm. I couldn’t believe when I got the shot below scanned. It was popping out at me. The detail on the roof was just jaw dropping.
Then there is the film you pick. With Portra 800, you get a lot of wiggle room. But you can also overexpose to get somewhat of a pastel look, which I think I have a bit of in the image below. (These are all just small, regular, glossy prints from Cewe, with no ICC profiles used. I expect them to look a lot better when I get ICC enabled prints made from The Print Space).

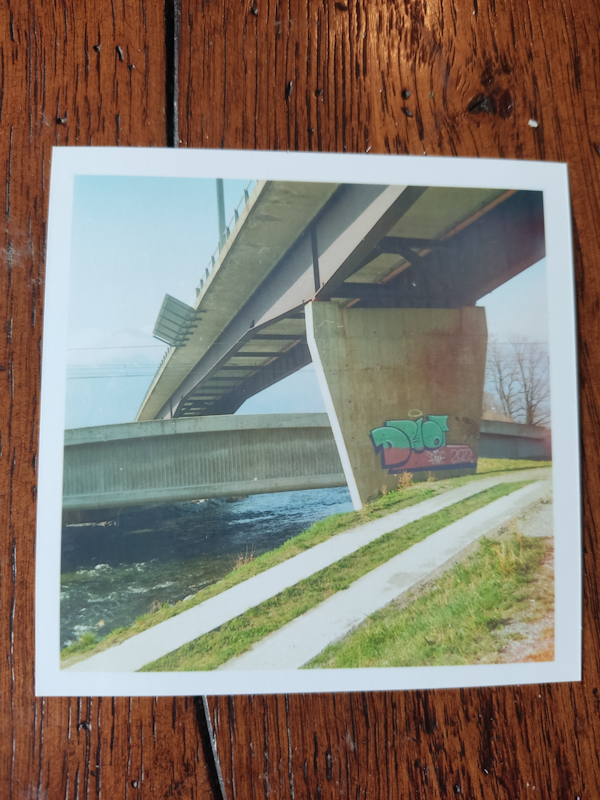
Of course, with these old cameras, there is often at least a small issue. On this particular camera, it is red light leaks, as you can see from the images below. It seems to arrive when the light is particularly strong. I could alter this, but in fact, I quite like the added effect sometimes.
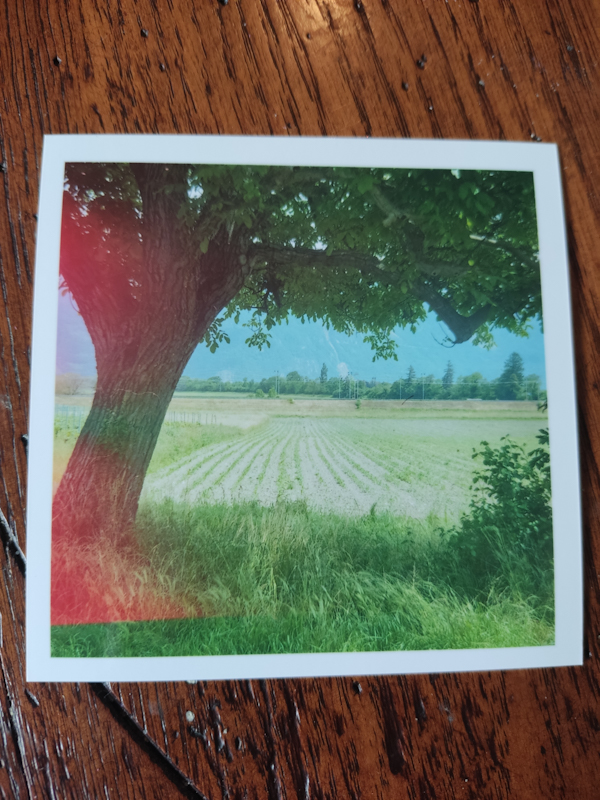
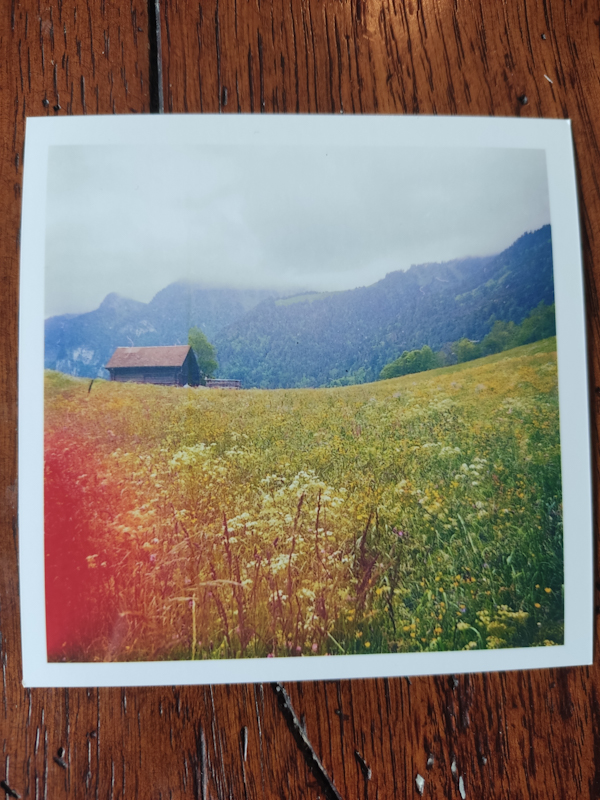
So that is a brief run through some examples images on my Ikoflex II. Some of the above will definitely be making it to larger print, although I may try to get them rescanned on a Noritsu 1800 available at Quick Photo in Geneva, as opposed to scanning on my Epson v700.
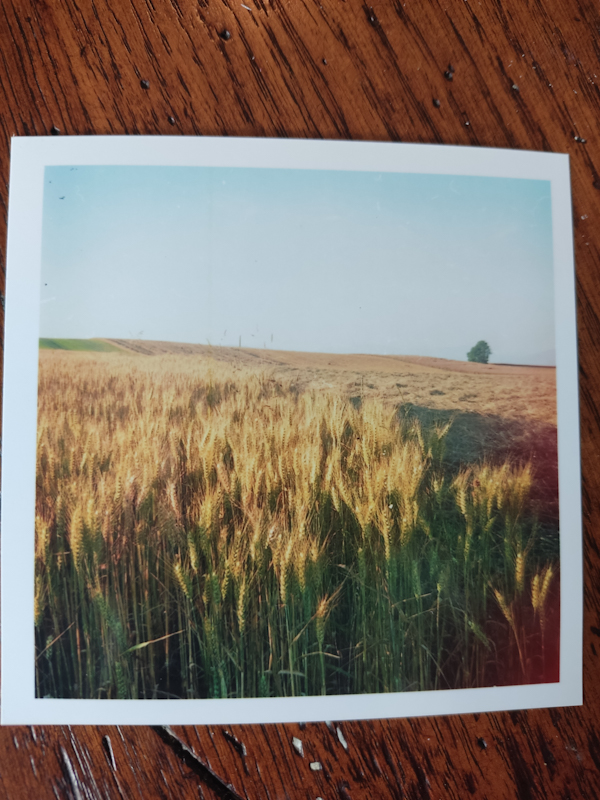
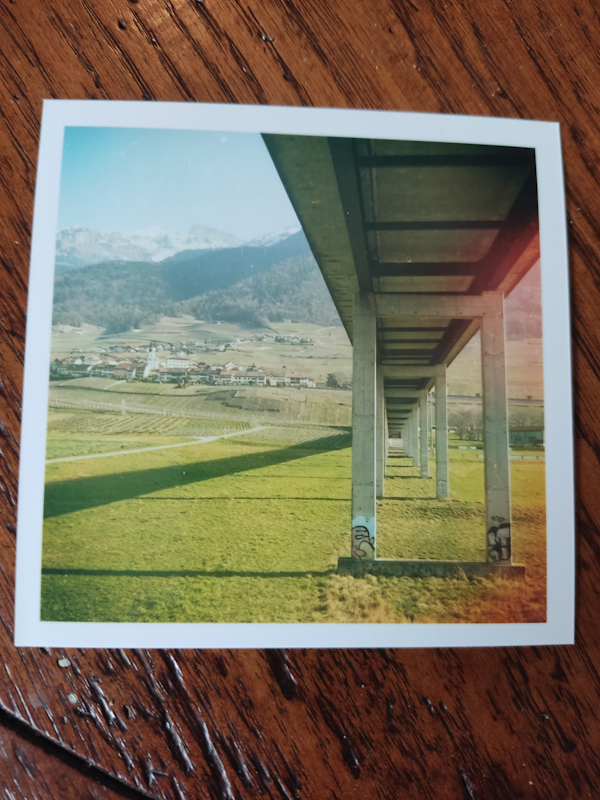
I’ll leave you with a couple of further shots:
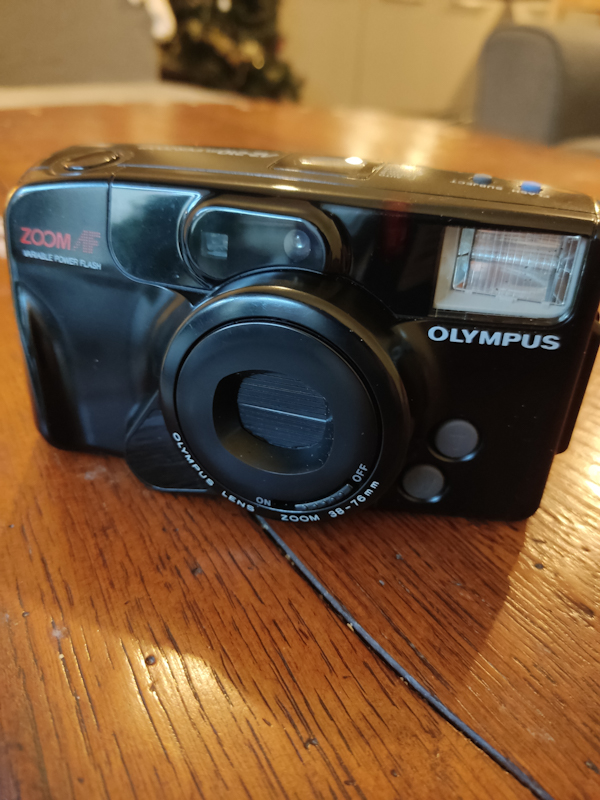
Olympus AZ-210 Super Zoom – Review and Example Images
It is with great pain that I must leave behind my Vitomatic II, and move back to my Olympus AZ-210 Super Zoom.
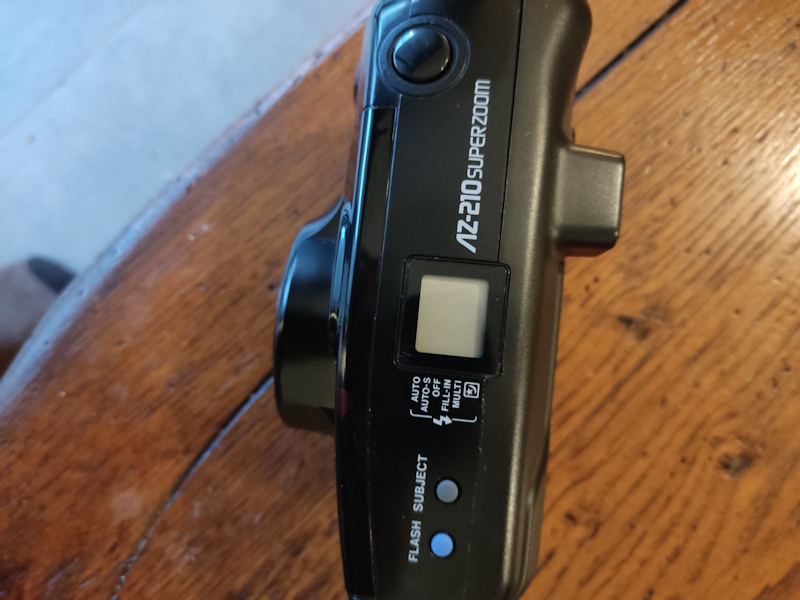
Despite loving the look and feel of my Vitomatic II, I lost some very important pictures (to me) on that roll. It looks like a shutter issue according to the Reddit analogue community.
So I’m back to my Olympus AZ-210 Super Zoom. I had been using it as a travel camera, there to take the Christmas shots and the like of family. Also, it makes a great wedding camera.
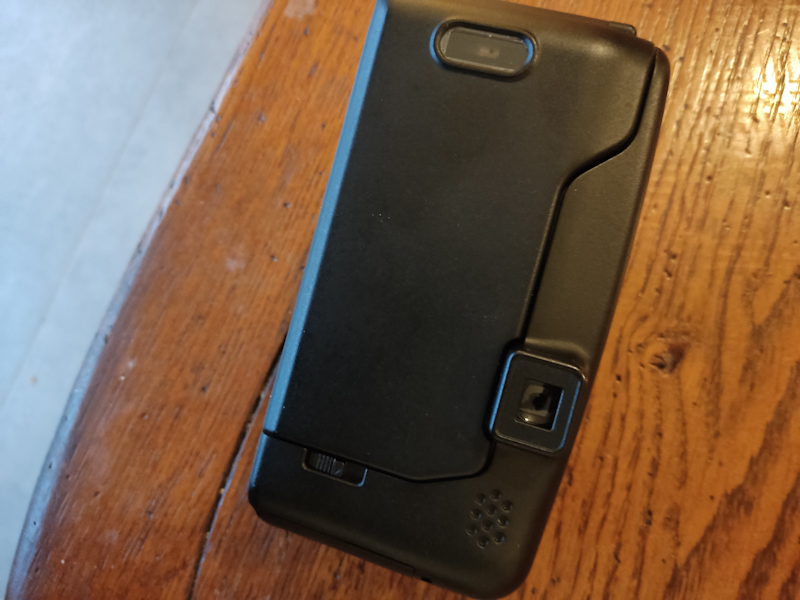
What stands out on the Olympus, as well as I imagine most point and shoots, is it’s versatility. It can be out during the day, with the flash it can be out during the night, it auto-meters dependant on the film, it has a zoom function(38-76), it has a timer, autofocus, and finally, it is theft-proof-UGLY.
Yes, you read that right. The Olympus AZ-210 Super Zoom has the classic 90’s Super Ugly look. Encased in plastic, and shaped like it was handcrafted by THE most boring person on planet Earth, we have here a theft proof gem, particularly if you can pick one up fully working for 20 pound like me.
I have to admit, I’m not much of a technical photographer. I can work a manual film camera, I’ve been through the digital age, but extra functions beyond the timer tend to get ignored by me. So it’s possible this camera has other functions. I wouldn’t know. What I do know is this is a great carry round camera, light enough not to disturb the normal workings of your shoulder, certainly getting within the realms of being a spare carry round.
When I get over the fact that the camera can crack mirrors if it looks at them hard enough, what we have is something highly useable. How often are you in a scene where you can’t take a picture because the light is too low? How often are you scared of your camera being stolen? How often do you leave your camera at home because of weight and size restrictions? As a take-everywhere camera, this is quite perfect.
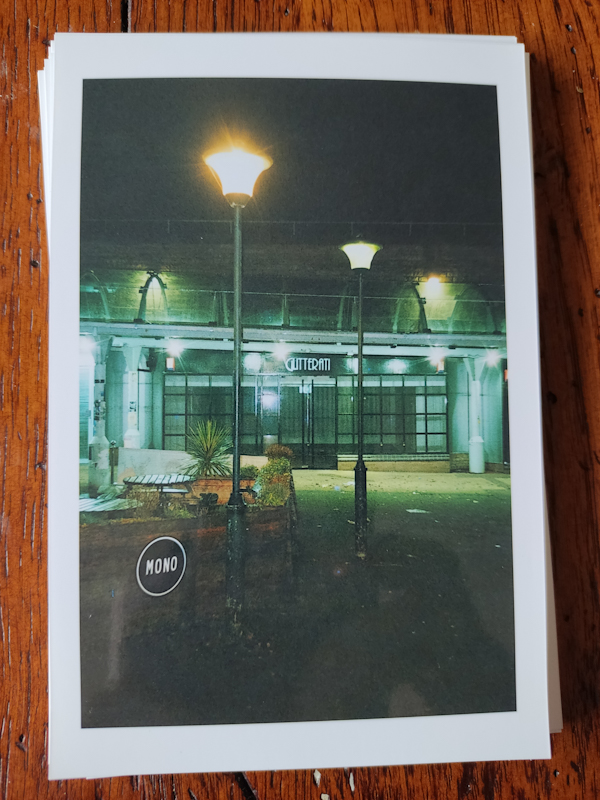
And so onto the images themselves. I must say that I find them pleasing. They’re not as sharp as you might get with a prime lens, the colours are perhaps ordinary, but you are still getting the film look, which to my mind elevates it over anything digital. There is even a night shot here, in low lit conditions, which I think has come out quite well.
In terms of being robust, well I must confess, I dropped the camera on the floor very early on, and it has continued to work very well, this despite the fact that when I dropped it it split open. Now, don’t go verifying my results – it is still made of plastic, but I thought this was something positive to add. However, at least buy a wrist strap for it, as it’s design is bulky in a way, and not the easiest to get a grip on when you are removing it from the case.
So, finally, I’ll finish with some images so that you can make your own decision.
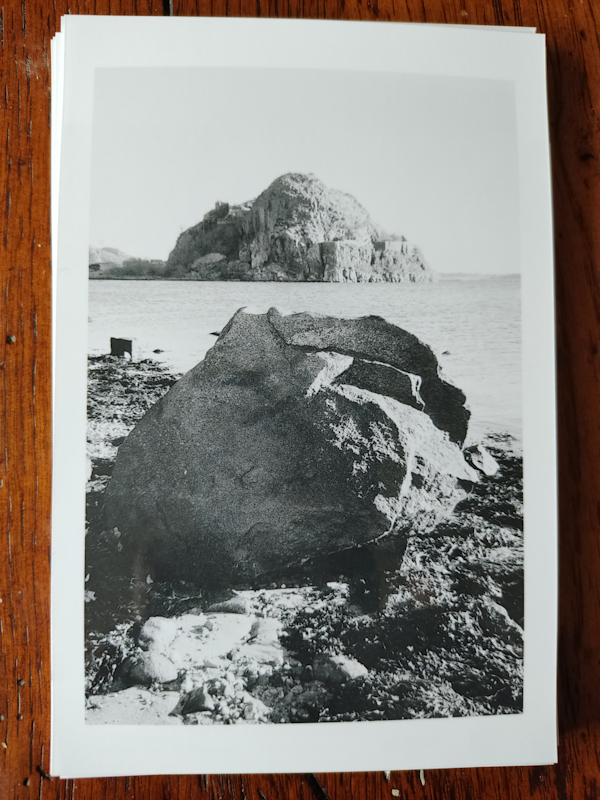
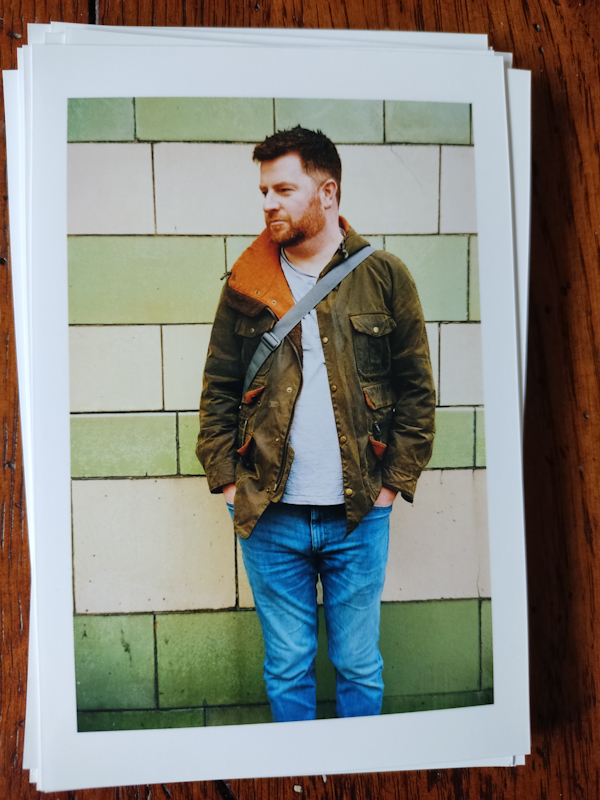
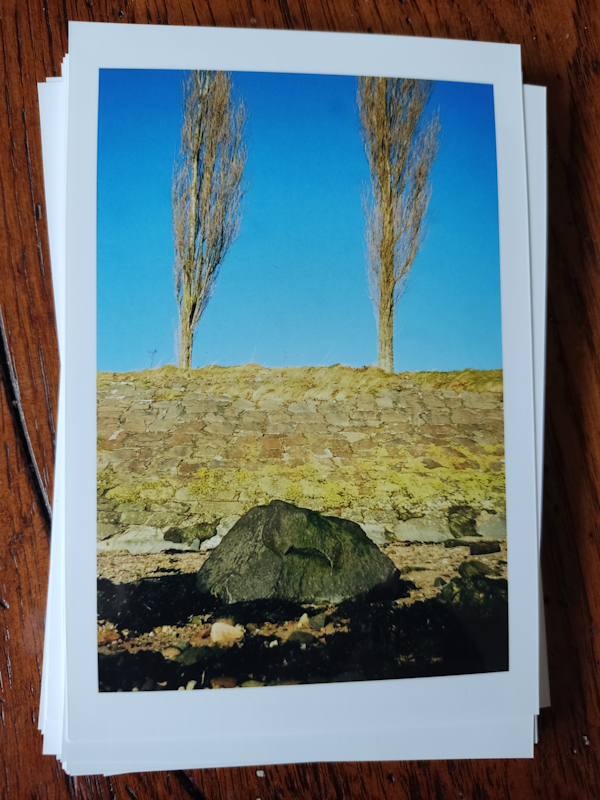
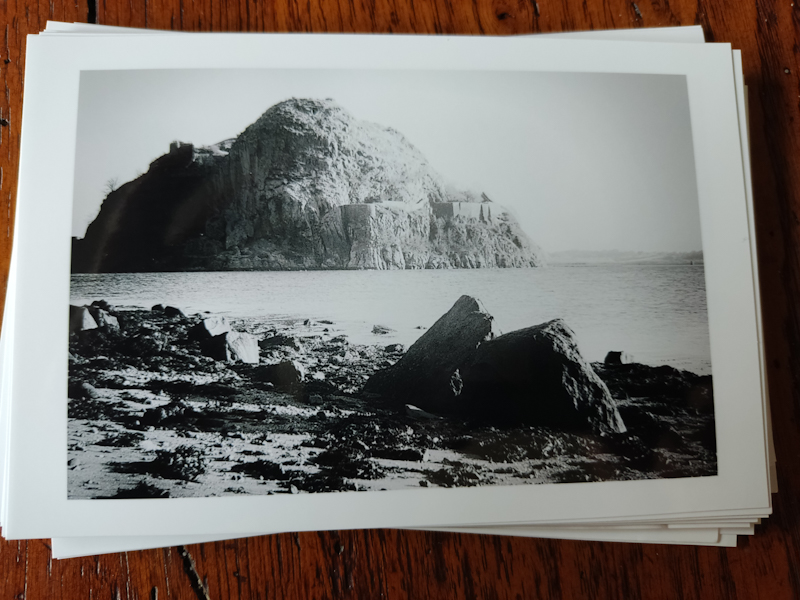
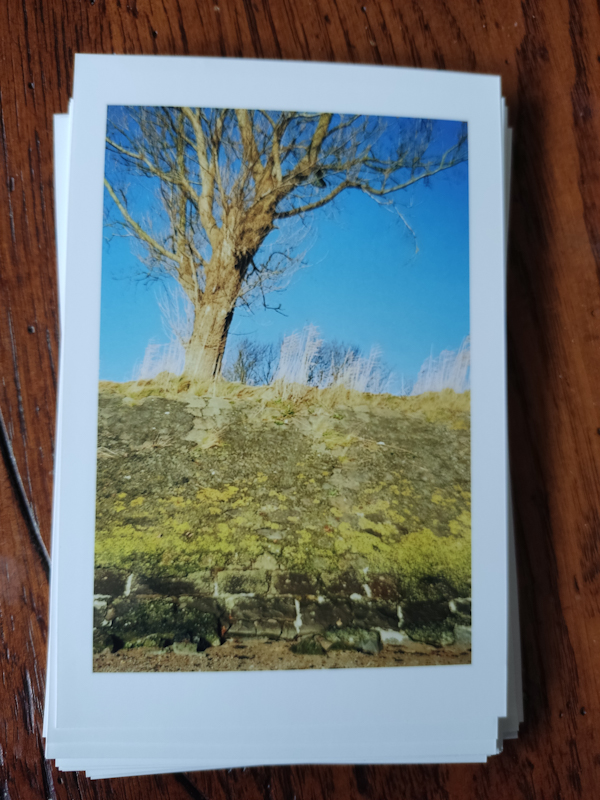
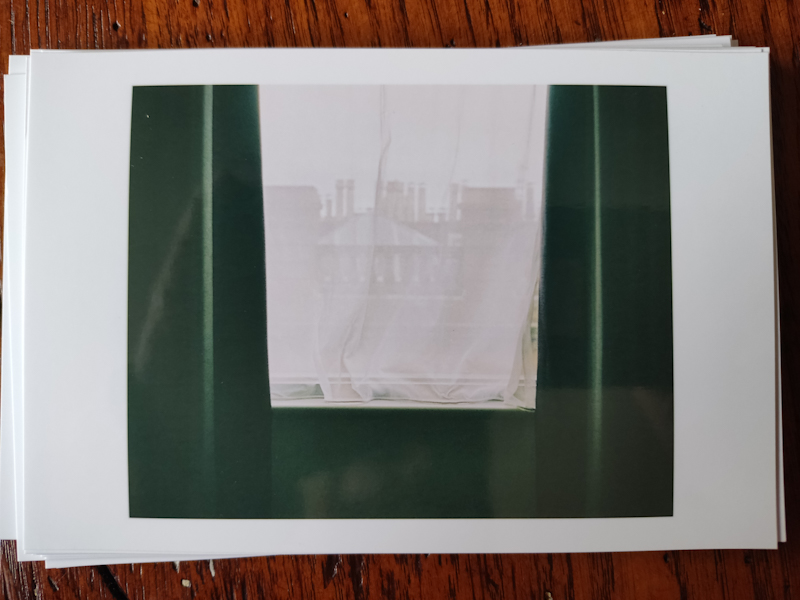
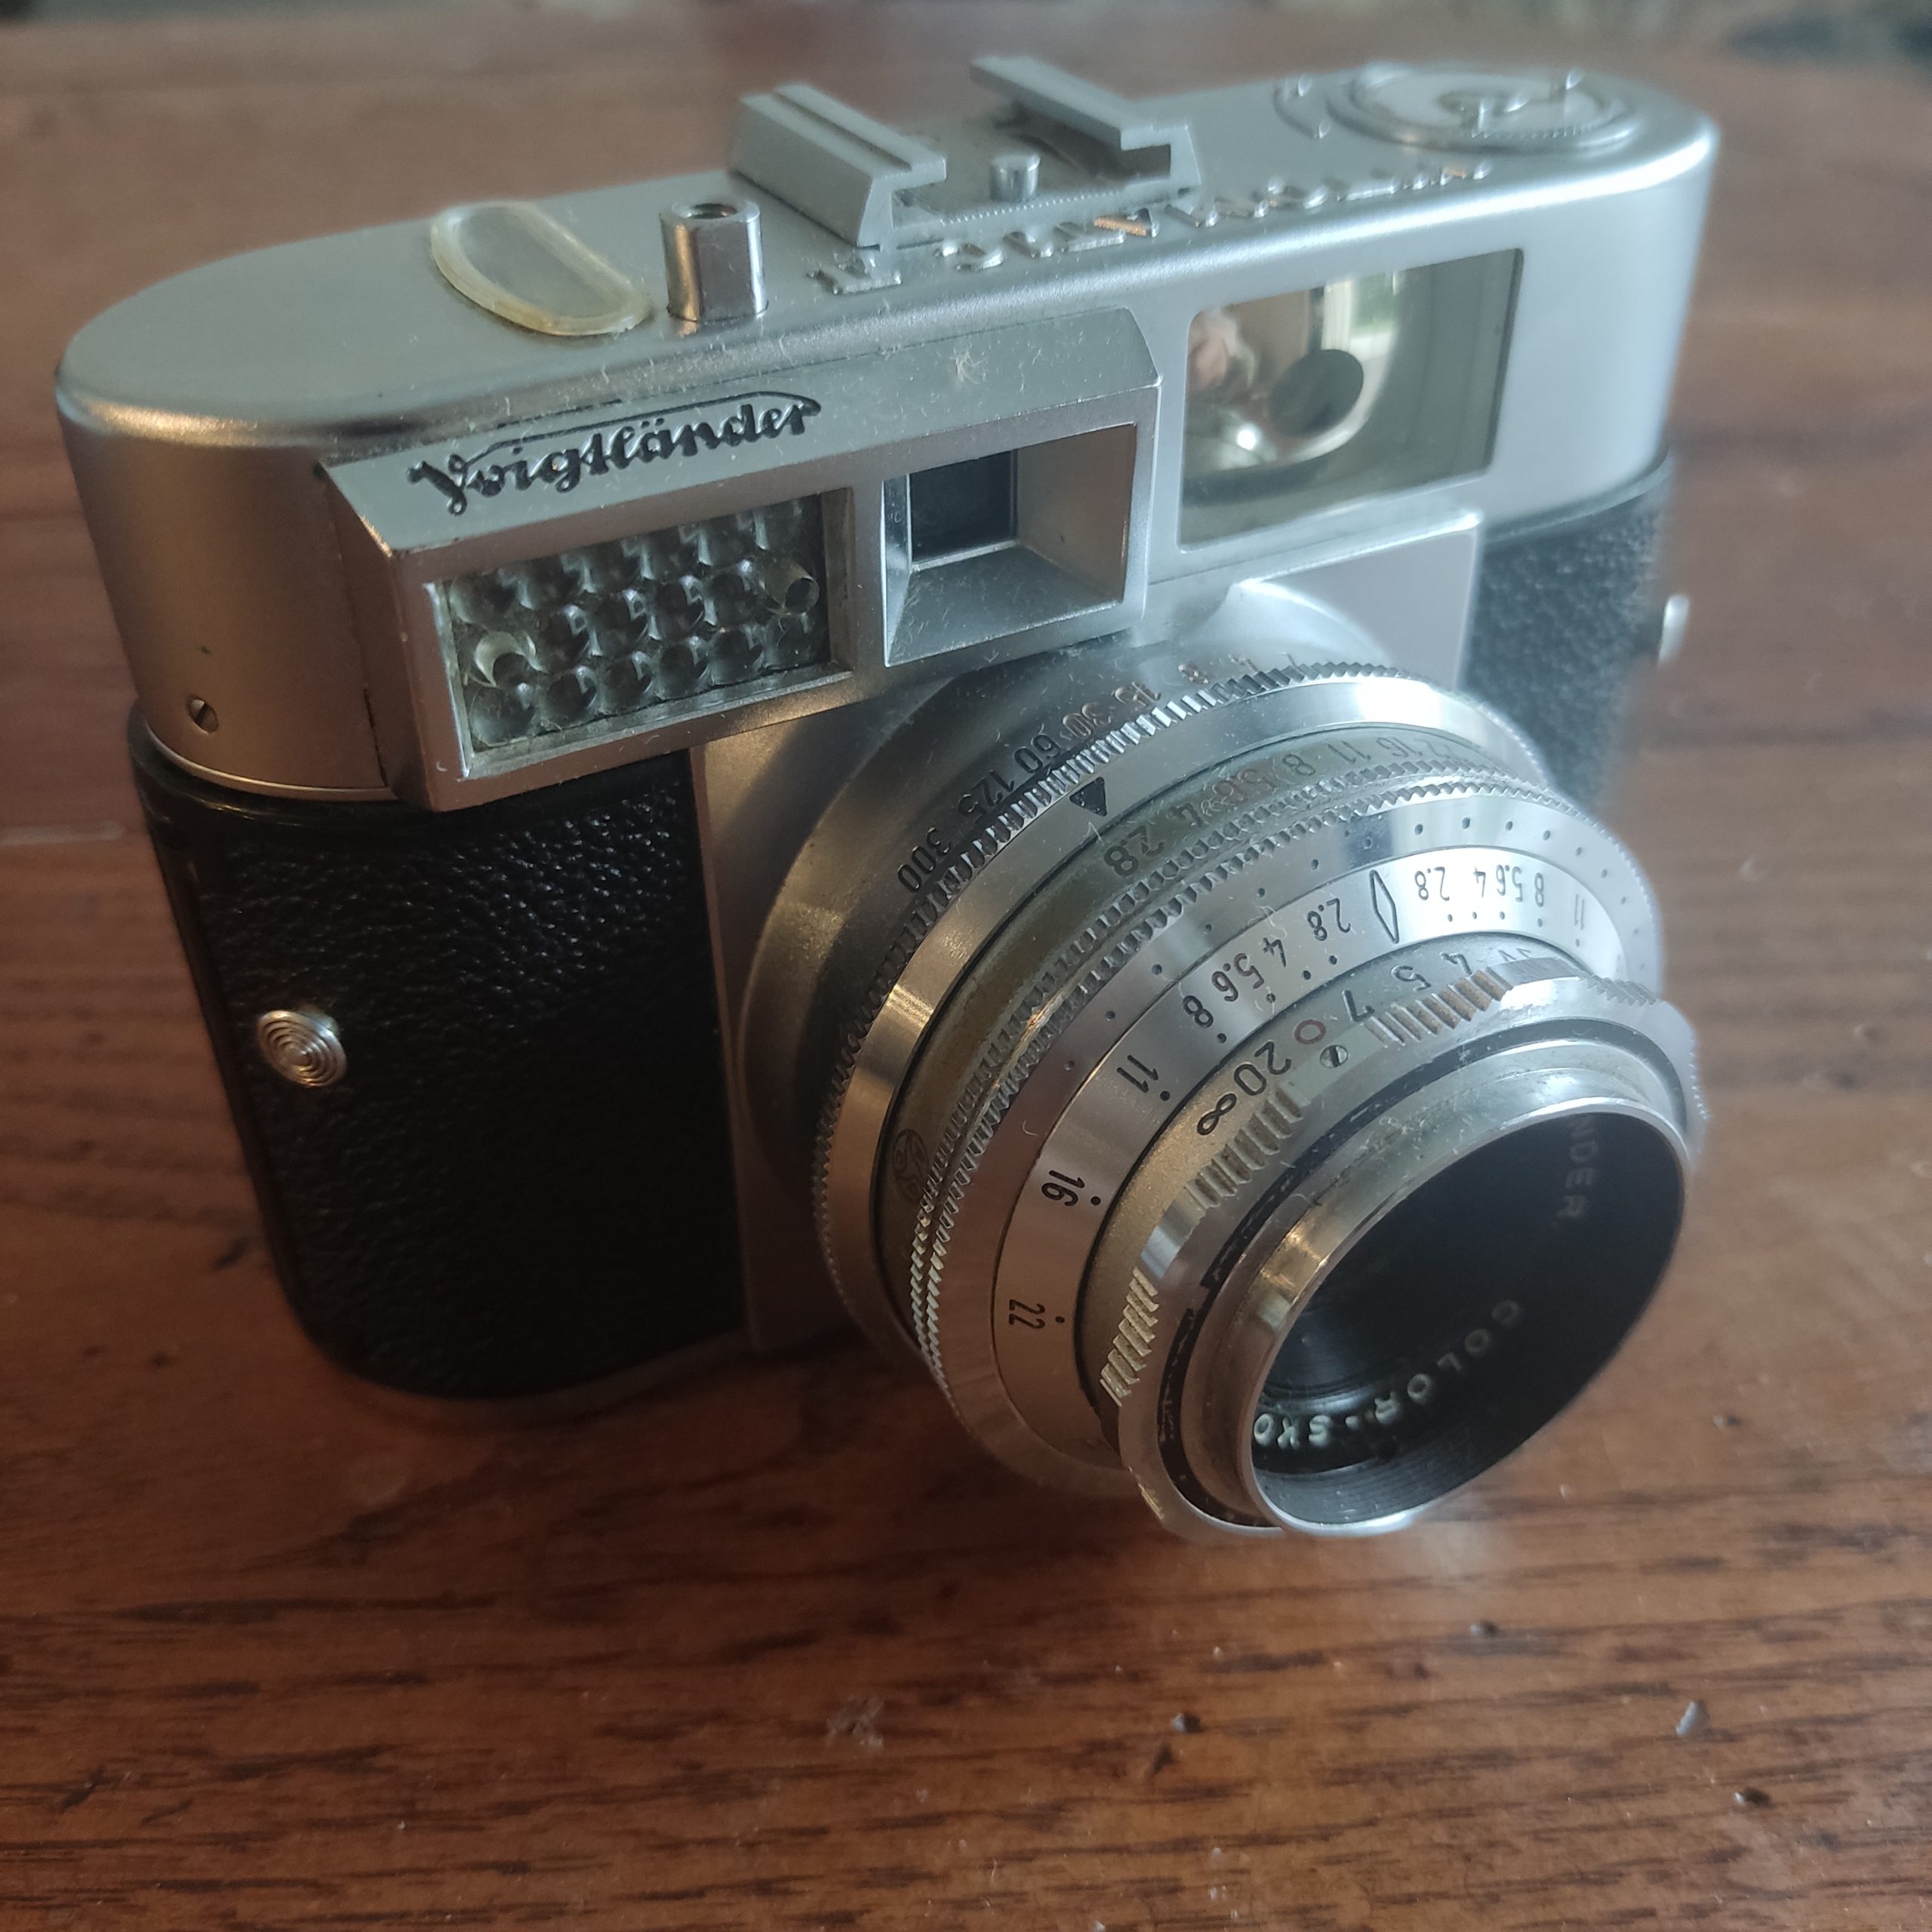
Voigtländer Vitomatic II
The quest for a quick to use, compact, quality film camera (on the cheap) has led me to the Voigtländer Vitomatic II, complete with the Colour Skopar 50/2.8.
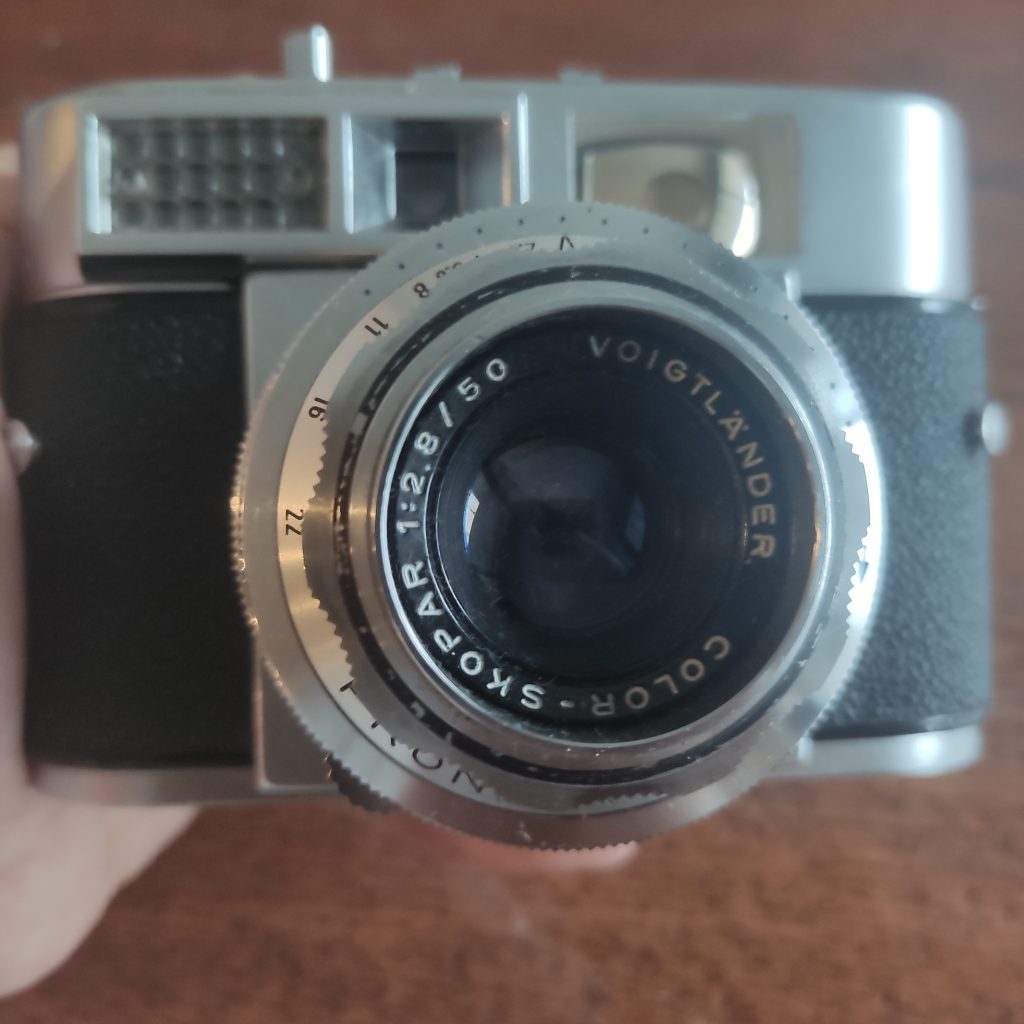
The first point I would like to reference is the build quality. This camera is heavy, and has a wonderful heft to it. It seems to be completely made of metal, not something you see often these days. I also bought a Voigtländer Vito CLR at the same time (a present for a friend), but this arrived with a broken range finder, stiff focus, and a loose, and useless light meter. Perhaps this indicates that the CLRs are lower in quality, but it is only an example of one. The naughty Ricardo seller did not inform me of the broken viewfinder, even though it should have been obvious! Still, I bought two untested cameras on the cheap, and one turned out to be fine, so that’s not bad, although I’ll probably need to buy a different present for my friend!
So, back to the Vitomatic, and now it’s usability. Loading the film is reasonably simple. You need to lift and turn a latch on the bottom of the camera, which releases the whole back. Then it’s a case of sliding the film into a slit on the left barrel, then pulling the spool to the right to hook into the space provided. The slit barrel should have been pulled to the left, making the film tight, and with the film perforations sitting on the teeth. At this point it is safe to close.
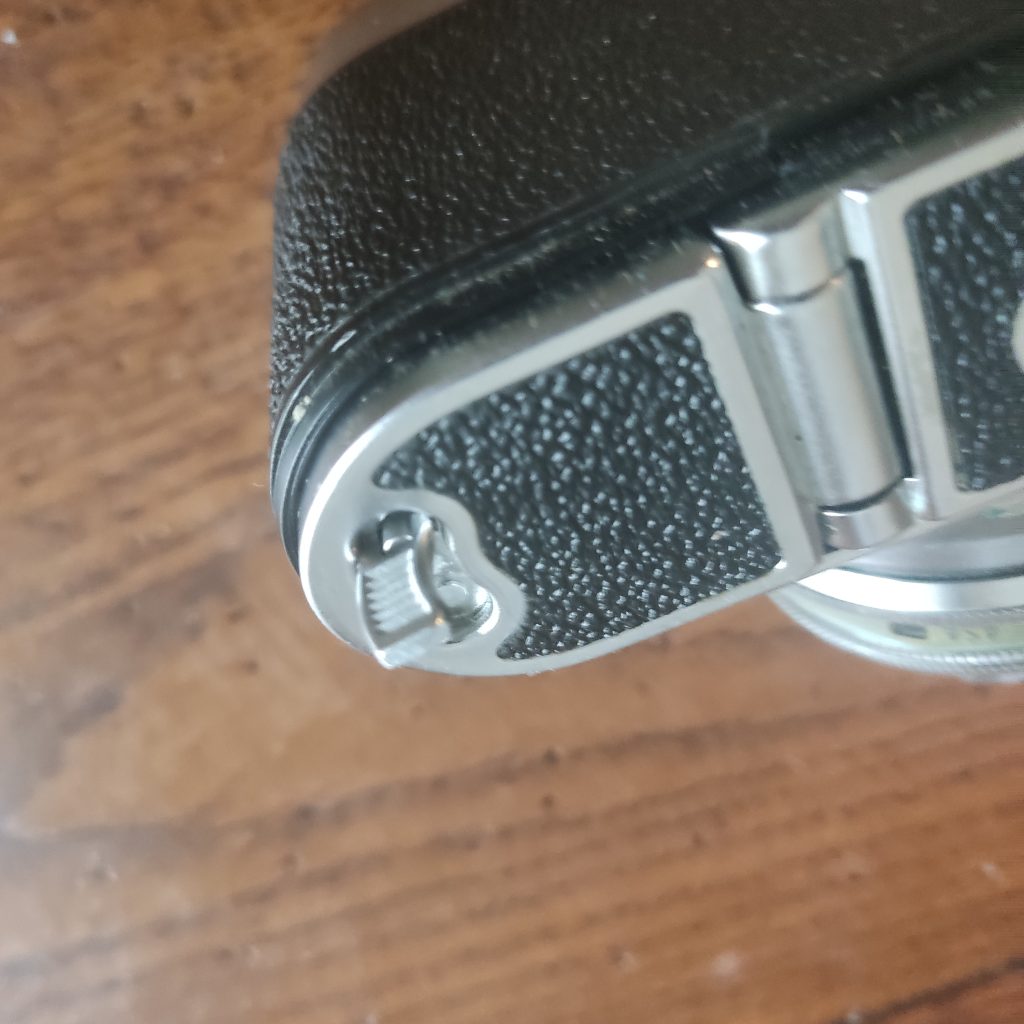
Following this, you must set the film counter to F (for a spool of 36).
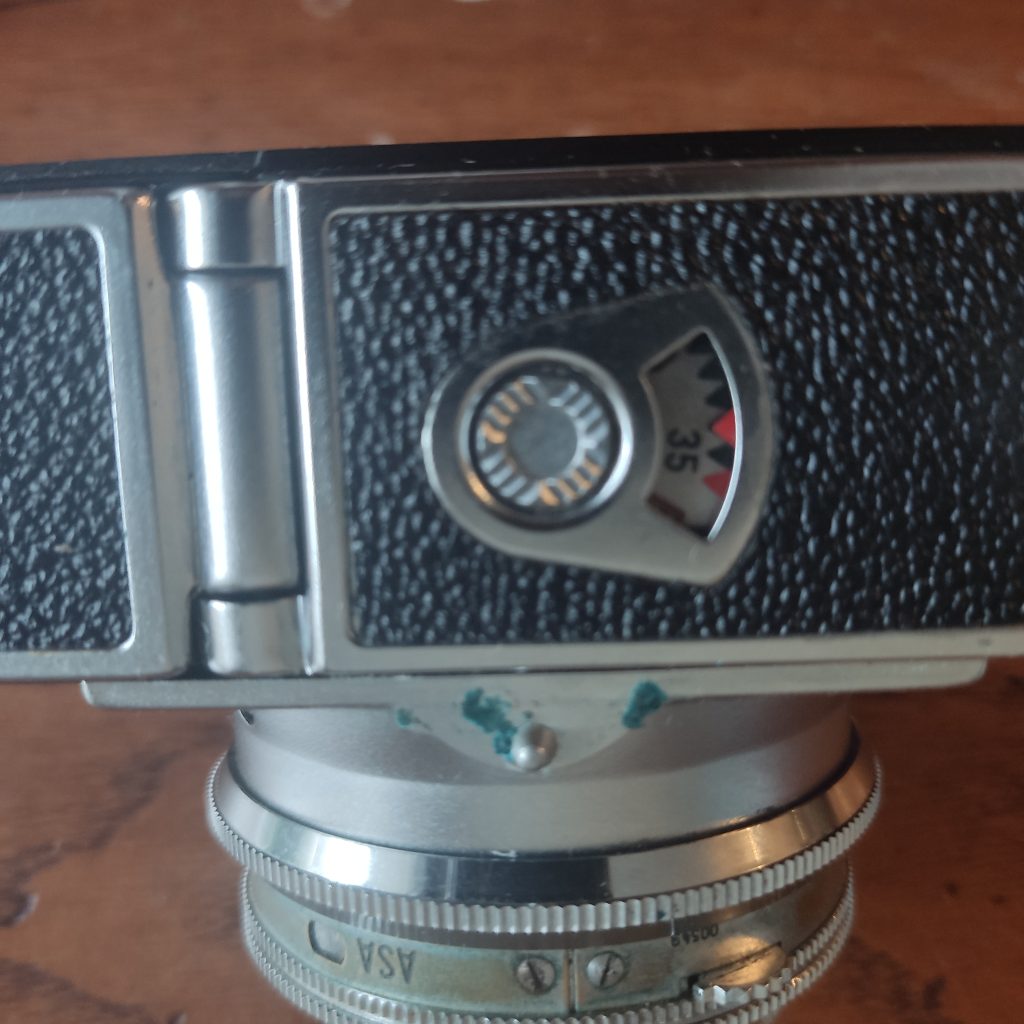
Then ensure your ASA is set to the right number (I had Kodak Golf 200, so I set to 200). To do this, you need to press down the semi-circled, toothed cog, and turn the ring until 200 comes into the ASA window.
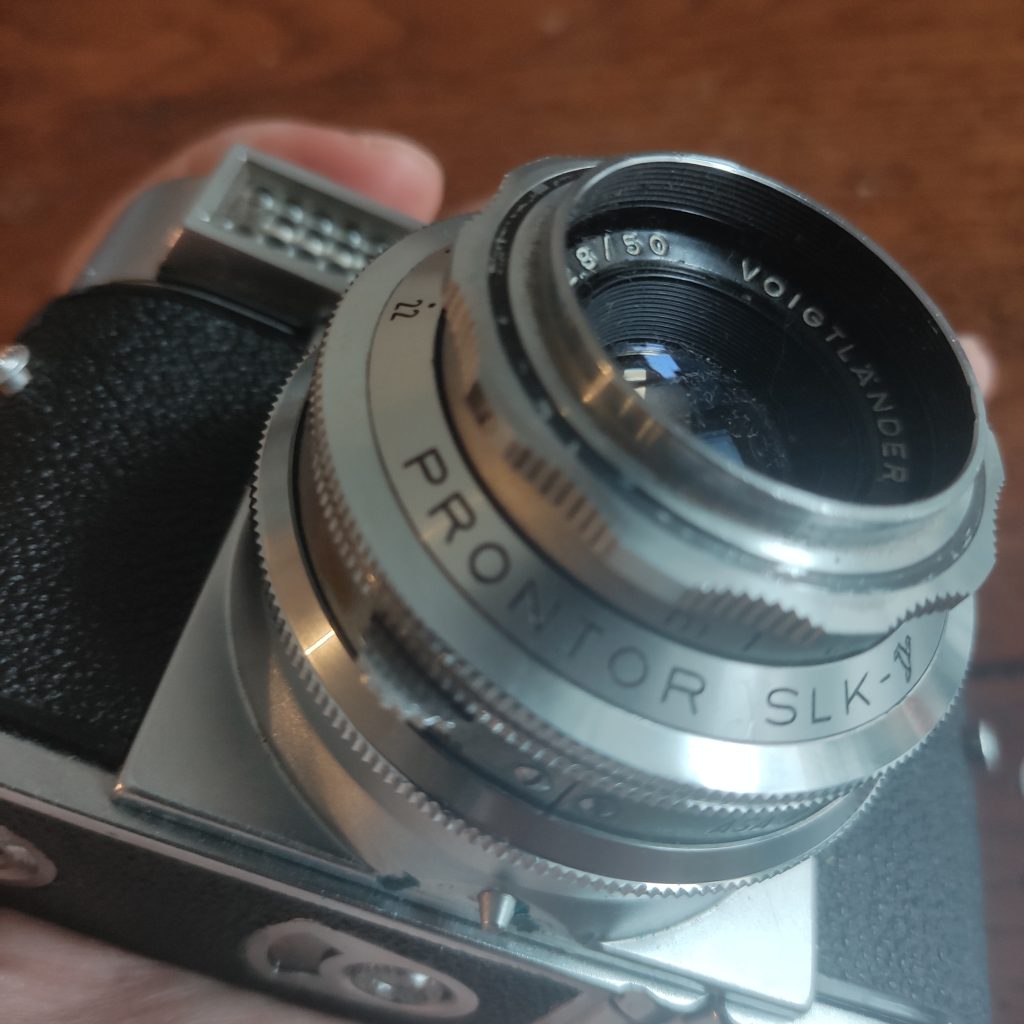
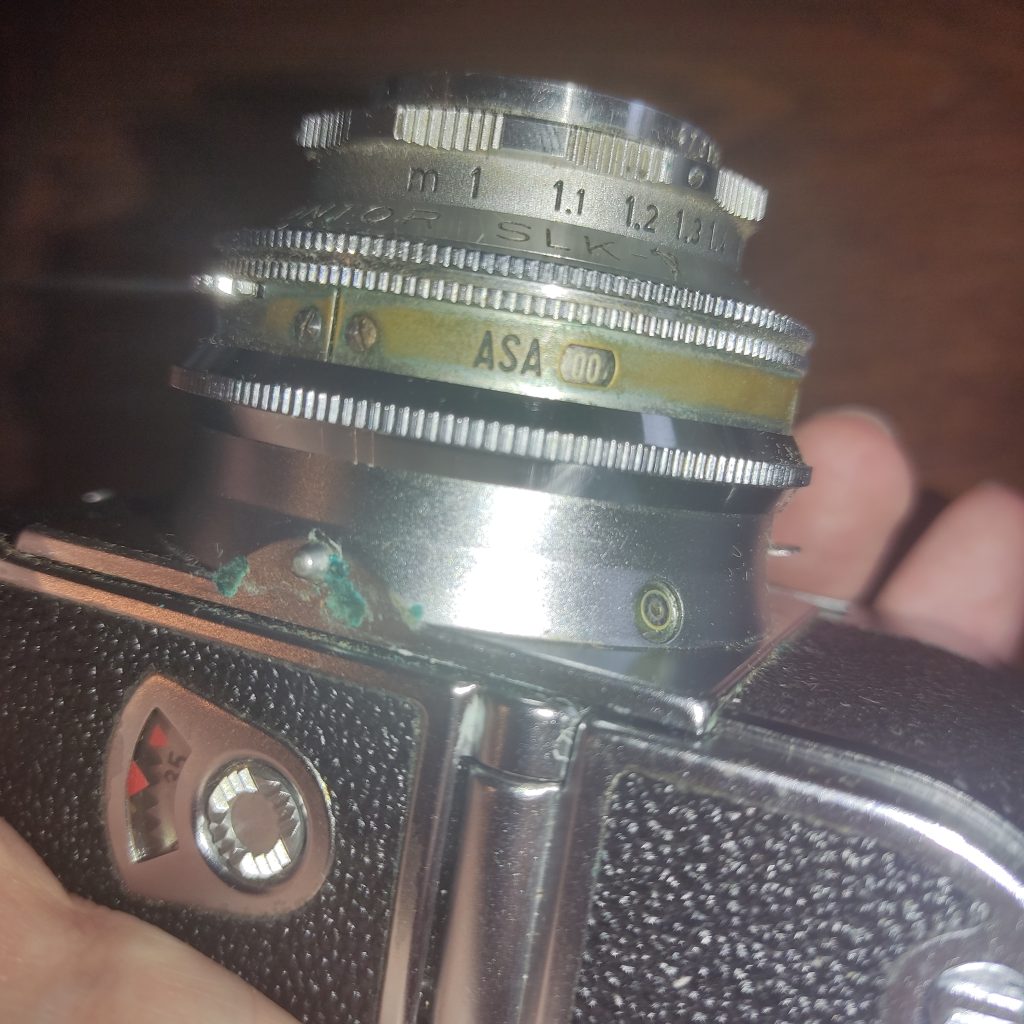
After this, you just need to cock the shutter. This requires pulling back the clip on the back of the camera once or twice until it locks. Simple – now you are ready to shoot.
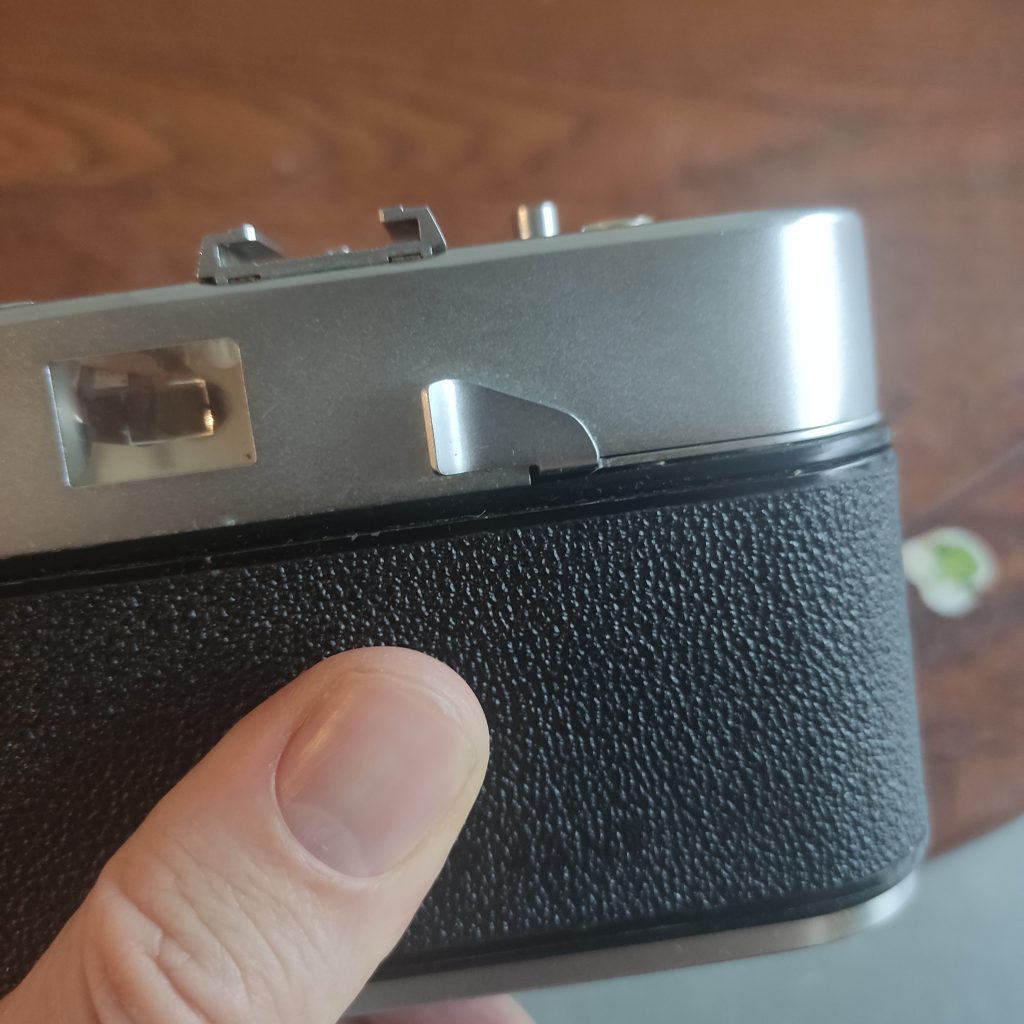
The next step is not so simple, but I hope that it will get easier with practice. This is the focussing step. The camera is a rangfinder, so this means there is a split image which you need to bring into alignment. When I first picked up the camera, I thought it didn’t work. I was peering through the viewfinder, and turning the front focus ring with no effect. Finally, I consulted the online manual, and saw that there should be a central yellow patch that I had to point at a vertical line when holding the camera horizontal, and point at a horizontal line if holding the camera vertically. I was finally able to see a dim ghost image when pointing the yellow dot at vertical lines. Rotating the focus, I could bring this ghost image into alignment with the object I was concentrating on. Voila! The focussing worked! What I would say is that it is hard sometimes to see the ghost image, particularly when it is within the object, such as a face. I think what I will do in future is try to guess the focus distance first, then alter the focus ring manually, then peer through the range finder, concentrate on the right vertical of an object, before turning to the right. This should reveal the ghost image, and I can then turn to the left again, sure if focus.
Of course, you still need to get the right combination of shutter speed and aperture. The camera has a clever way to do this.
First, you must align the light meter eye (a circle) over the light meter needle, so that the needle appears within the circle. You do this by rotating a ring on the lens. Easy peasy.
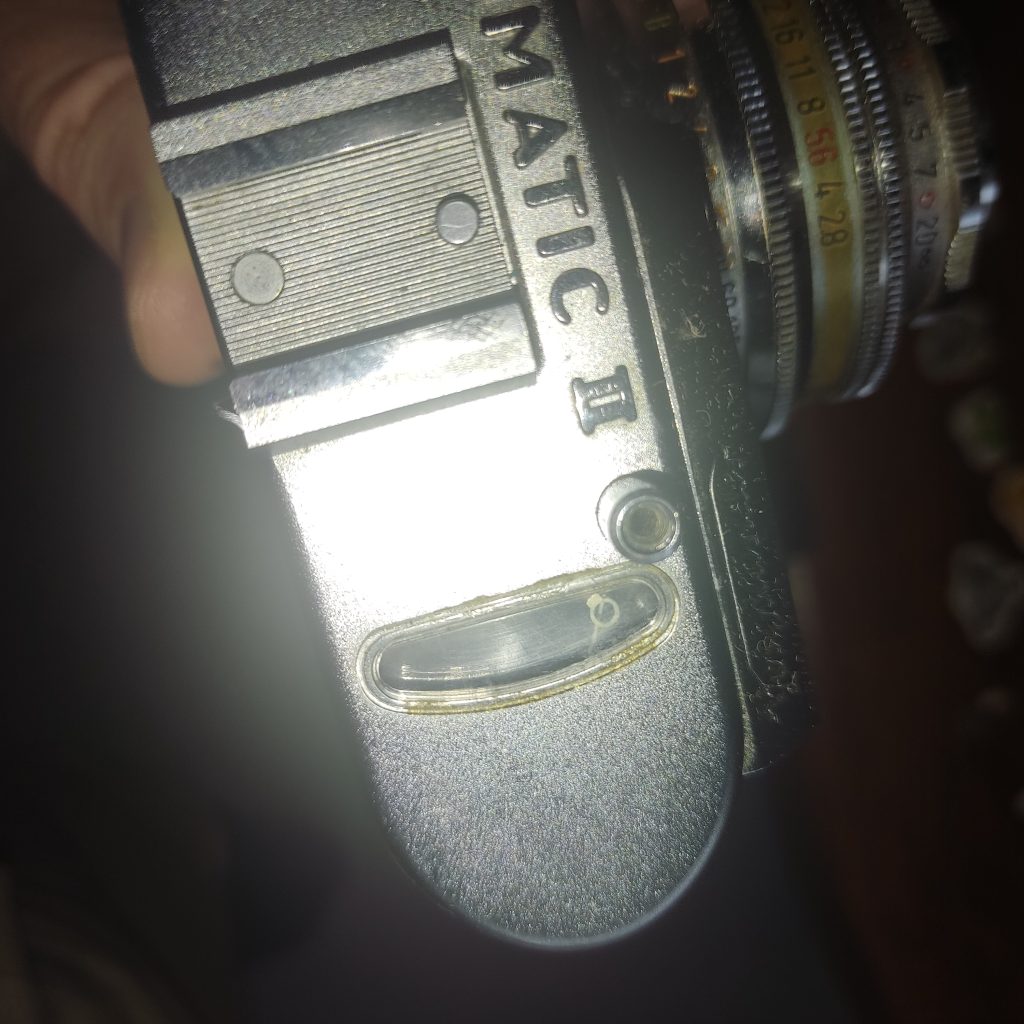
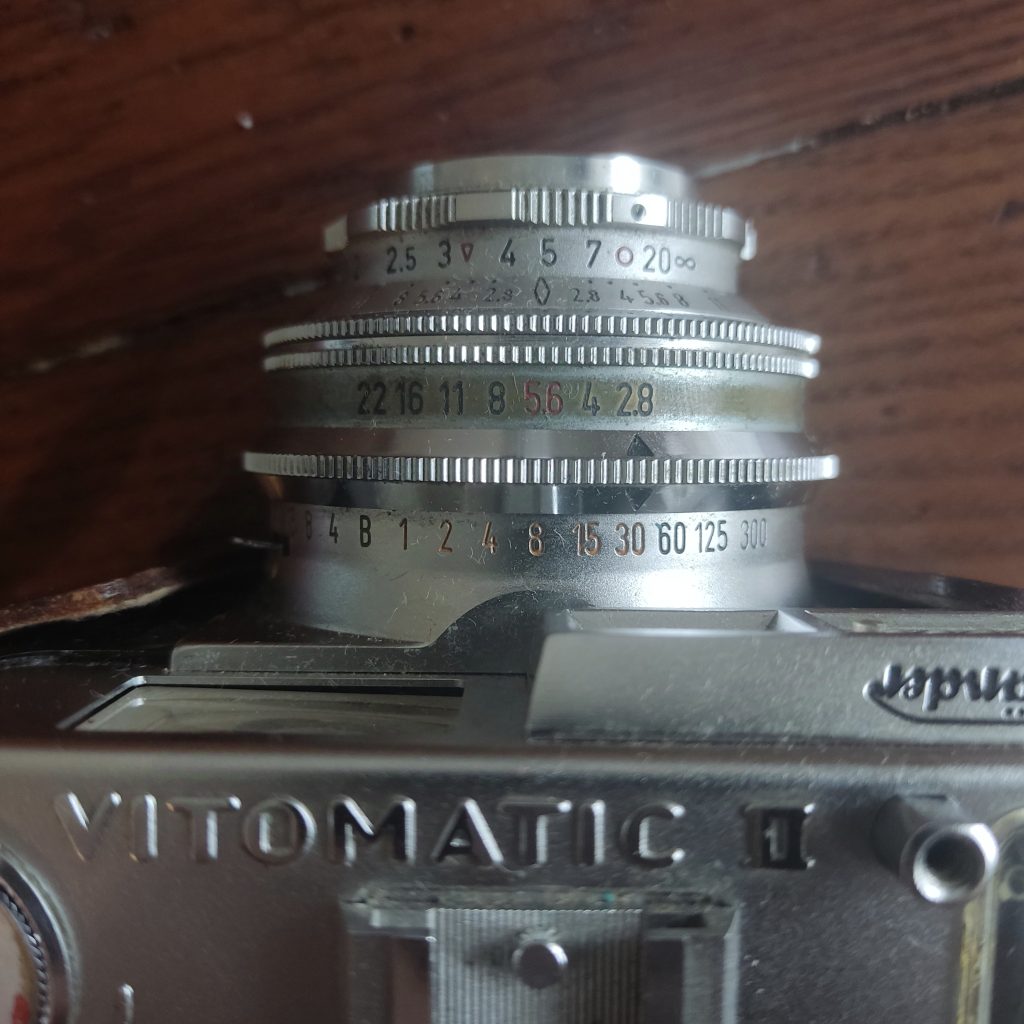
Second, you then select your aperture, shutter speed combo. By rotating the aperture ring on the previous step to align the light meter, you will now have a number of shutter speed aperture combos available to rotate onto by turning the shutter speed dial on the lens. It’s a clever system.
Then it’s a case of pressing down the shutter button. The click isn’t very satisfying, it’s quiet and barely registers. However, this is good for candid photography.
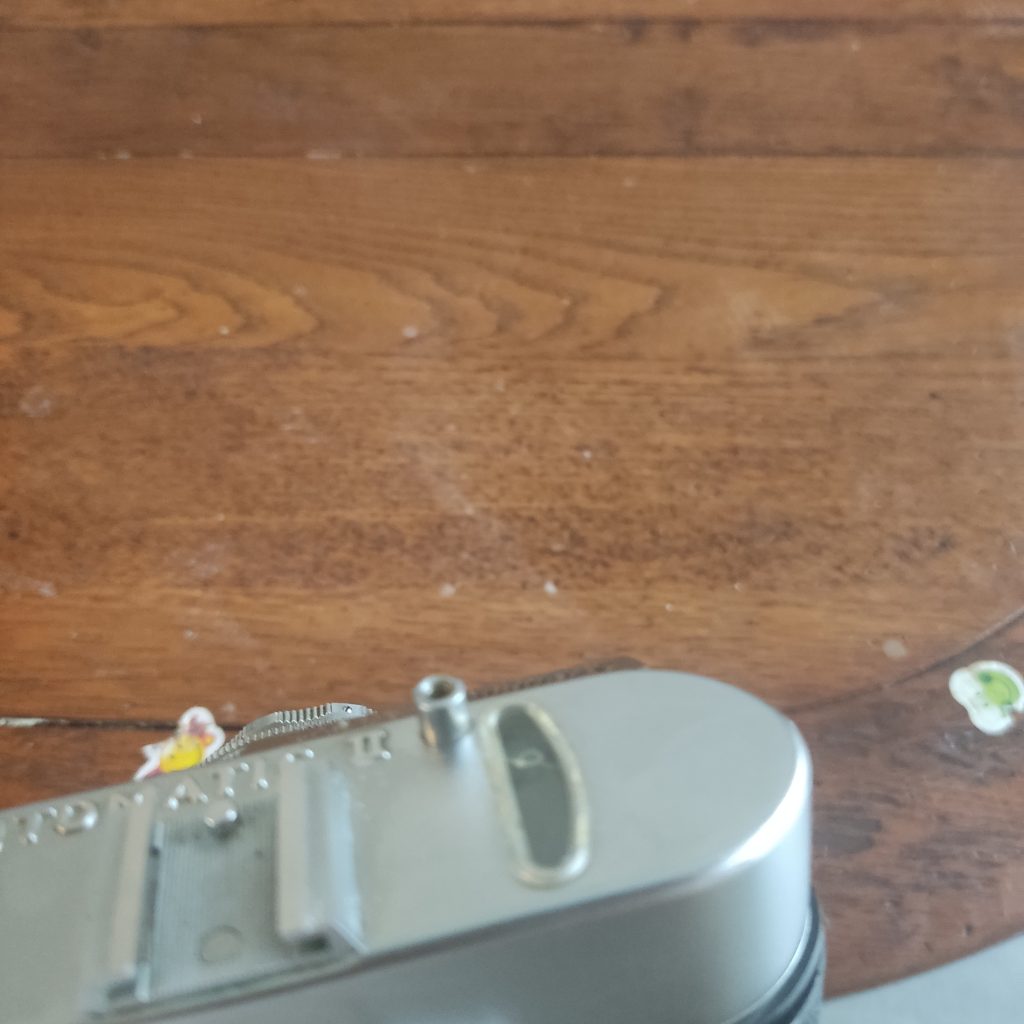
So that’s all the functions. Everything seems to be working on my camera, but I still need to put a whole roll through it. There are still a few things that could go wrong: an inaccurate light meter; slow shutter speed. But I hope that I get some good pictures back.
I will update with the results as soon as I can print some pictures. I don’t just post photos on the internet anymore, it needs to be in print form. This protects the image from algorithm and normal theft, and also encourages me to actually print the photos! Physical media trumps the virtual – it’s so much nicer to flick through an album than look at your Instagram, plus it helps to prevent ego bloat.
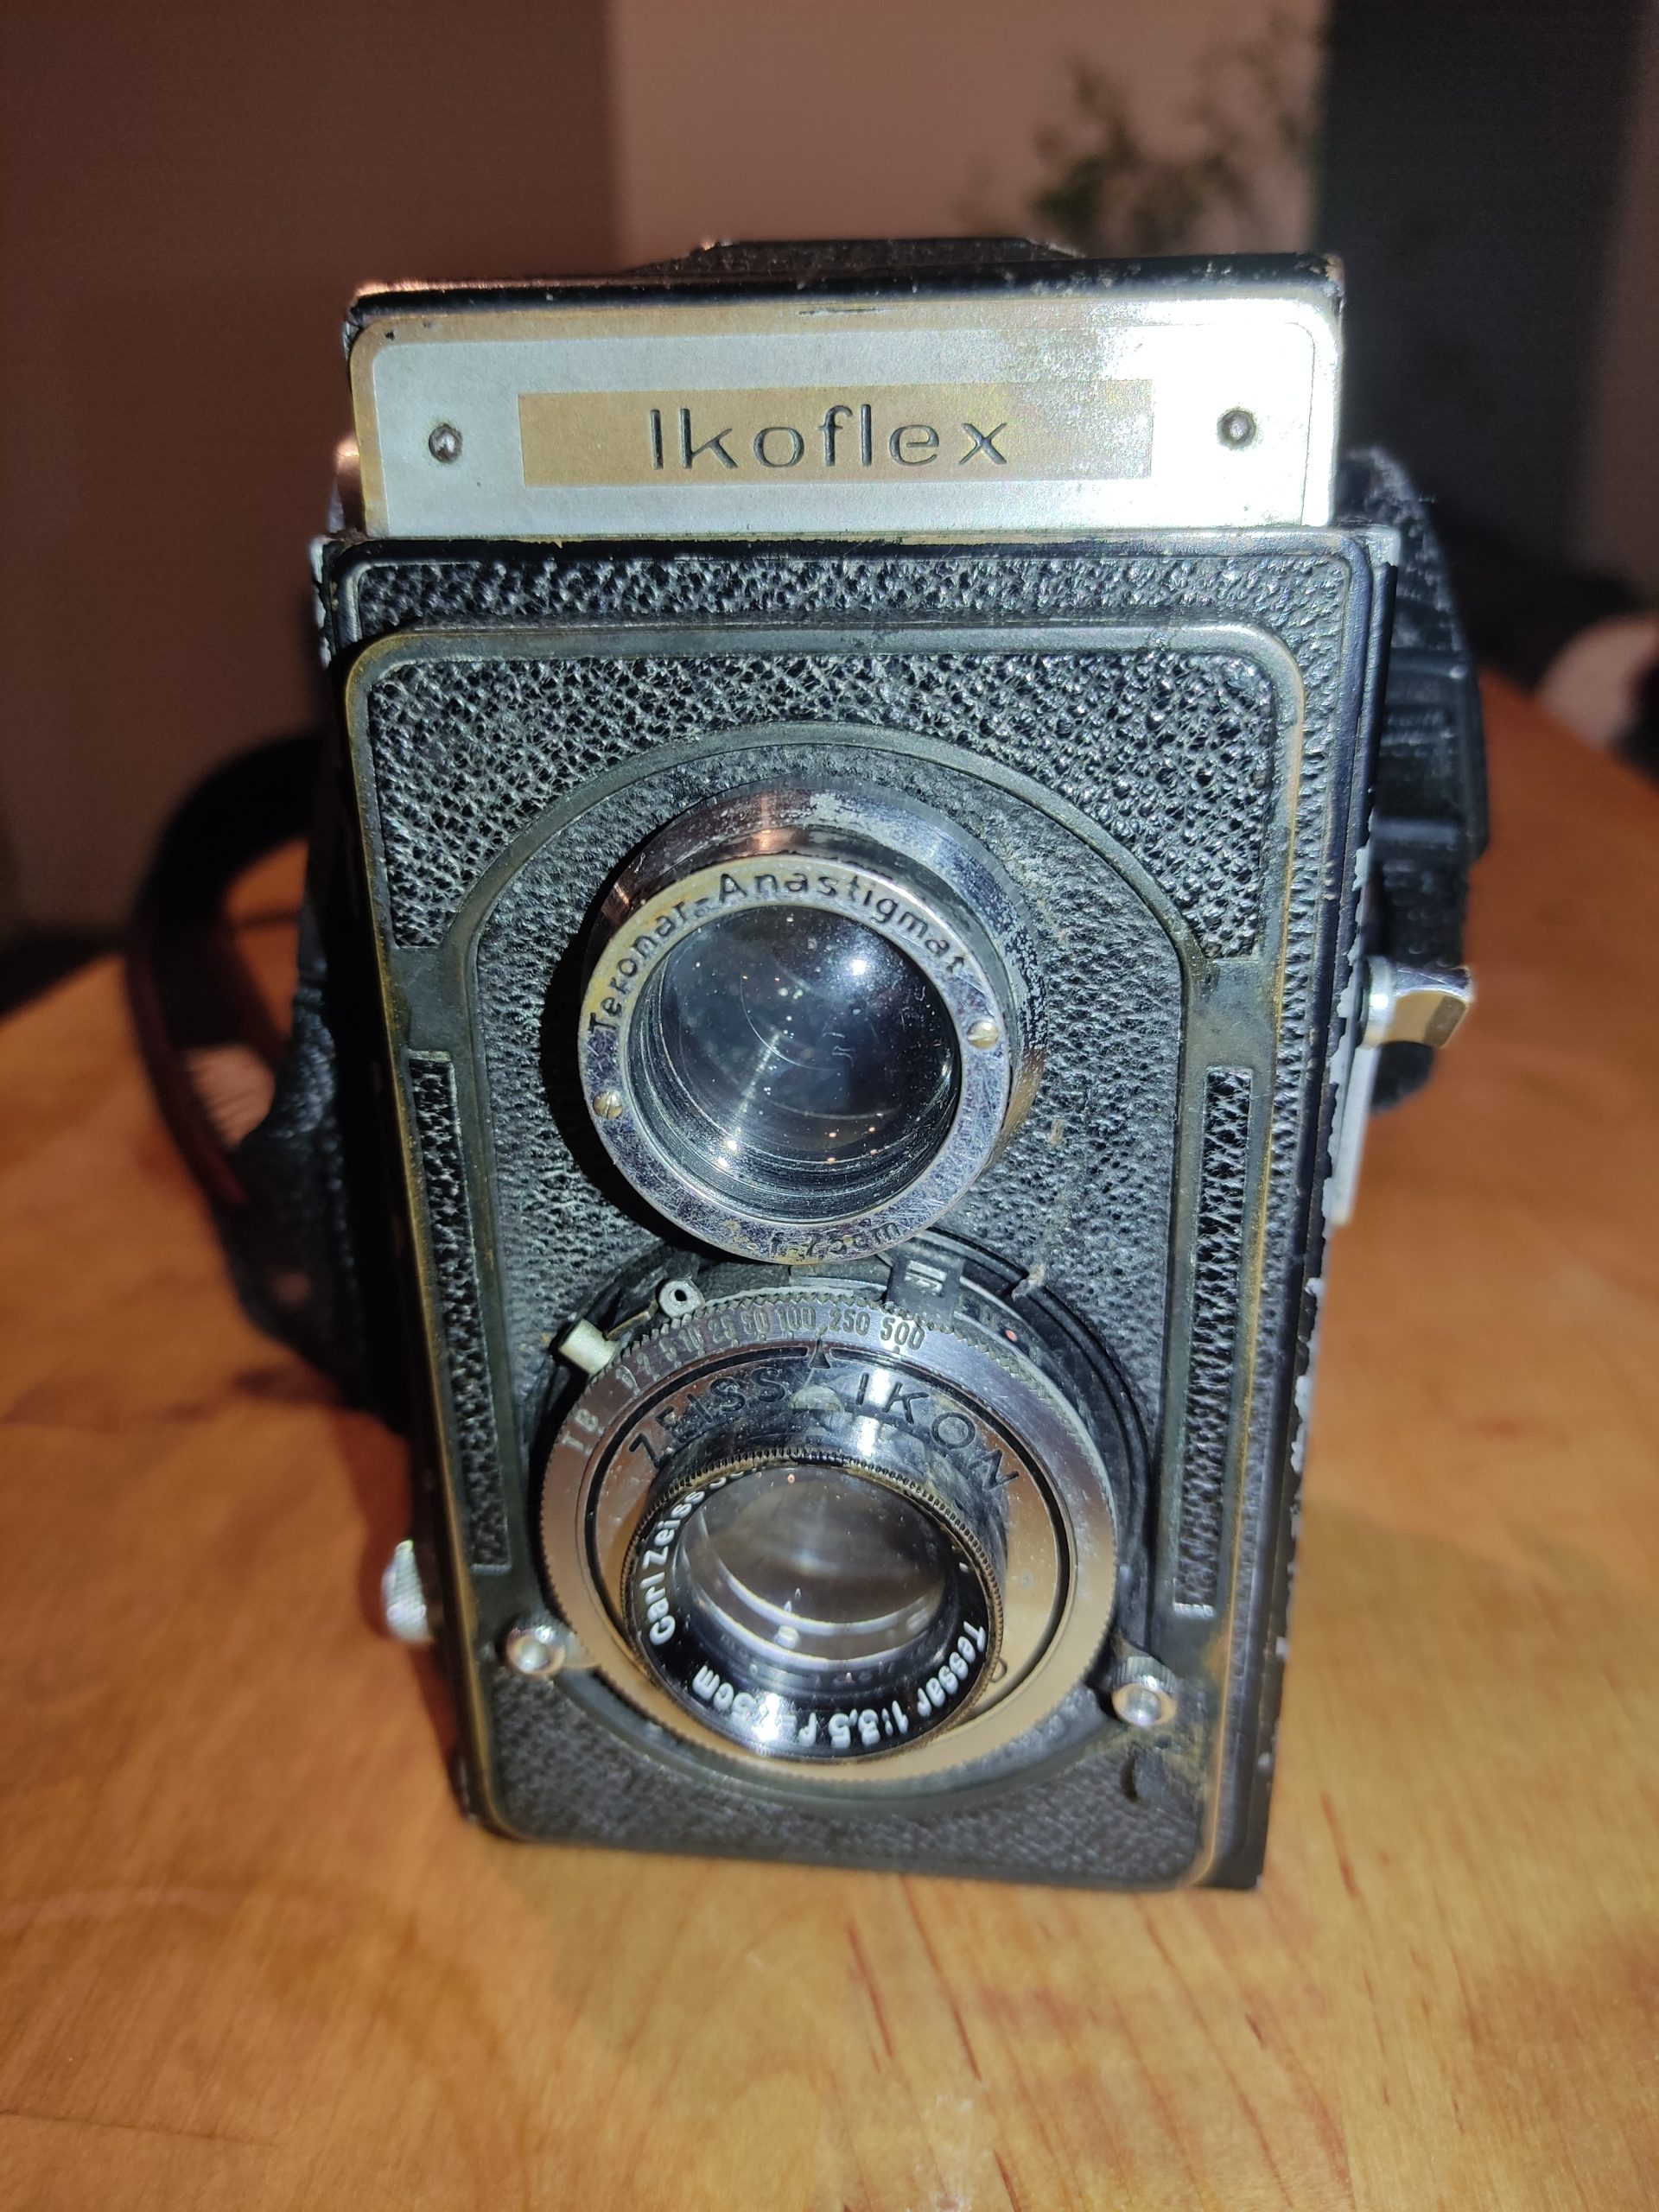
Ikoflex II (851/16)
Well, whilst I am in the path of retracting from virtual tech, I have to say that manual tech I am still very much interested in, with the Zeiss Ikoflex II (851/16) being case in point.
Having initially bought an Olympus AZ-200 Super Zoom for my first foray into carryable film cameras ( I actually started at the deep end with an Large Format Sinar Norma 5×7), I soon lusted after larger again, as if this was something important. It hurt to think that I was taking pictures that could have been larger. Thus, I began medium format research. I knew from large format that handheld should be kind of possible with medium format, but my funds were limited. I eventually settled on TLRs, which combined portability with decent but fixed lenses. Rolleiflex are of course the kings here, but they were way out of my budget. However, a little bit of research led me on to the Zeiss Ikoflex. Now, these come in a variety of forms. I opted for the 1936/37 Ikoflex II. The reason for this is I wanted a pre war model as potentially the parts used may have been more durable. Whether this is the case, I am unsure, but it is still working well after a year and a half.
Appearances for this model are nothing short of spectacular, with a deco design that includes an aesthetically wonderful focus lever. It really is quite special to take out and about, and gain curious glances, if that is what you are after.
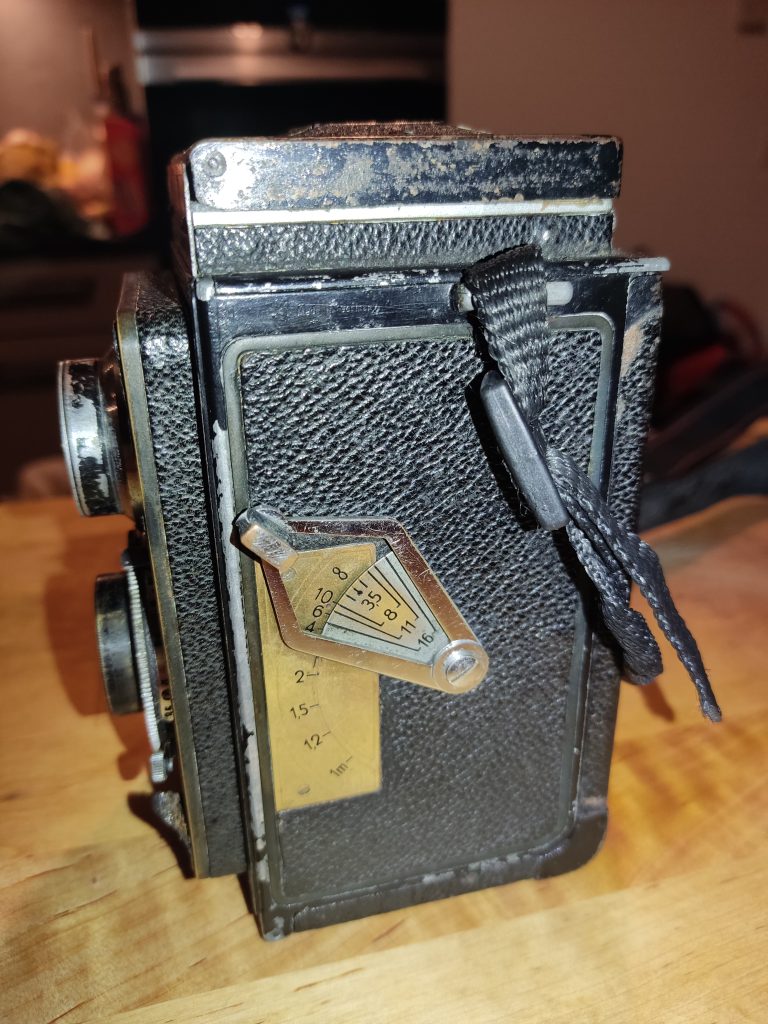
More importantly (hopefully), how does it use? Well, having not used any other TLR’s so far, it’s hard to make comparisons, but these are my feelings. Shutter and aperture dials work fine, as expected, with a max shutter speed of 500 (not had to use this yet). Aperture on the lens goes from 3.5 to 22, more than reasonable.
The lens is a Tessar. My impressions are from it that it is very nice, if you are after the look it gives, which I am. It is not the sharpest, but I’m really not after that. Colours render nice. However, please keep in mind that I am not a “technical” photographer. I prefer “feel” and “looks” to pixel peeping, which is one of the reasons I moved to film in the first place.
Now, onto the not so good. The focussing lever, which I love from an aesthetic point of view, would really be better served with a focussing dial for faster, more accurate focussing. Perhaps I still need to practice more, but I find focussing of close subjects hard.
Secondly, to fire the shutter, there is another lever, rather than a button. I find that this makes the shooting process a little more intense, and I don’t dare shoot anything lower than 1/60. So that means I’m almost always walking round with Portra 800.
Other issues? Well it’s manual wind. This means you can shoot double exposures if you want, and also means you accidentally shoot double exposures when you don’t want. Eek. Only happened once so far, but disappointing not the less. Also, the lack of an auto wind after each frame means that there is sometimes a little overlap between frames. Also annoying, but also one of those quirks that almost makes you smile, particularly if you hate how easy it is to attain a picture through digital.
Getting your film aligned is a little heart stopping on the first roll. You need to use the red circle underneath the camera, and wind till you reach the first frame. You need good light for this, as it is hard to see. I actually missed my first frame on my first roll, as I skipped past Portra’s 800’s one digit, which kind of looks just like a line. But this is less the cameras fault.
So with these attributes in mind, how has my shooting developed? Well, for landscapes, the camera is brilliant. The square format opens up a whole new way of looking at the world, and the results with the Tessar are dreamy. But people shots are a lot harder. Firstly, with no built in light meter, you need to use an exterior one. I’ve just been using the Android app, Lightmeter, which provides a close-ish match with the camera, even if the focal length is a little different. This immediately slows things down. Then I have to manually set aperture and shutter based on one of the pairs the light meter app gives me (meaning no mental arithmetic – I highly recommend this app). Then I have to use the dreaded focussing lever whilst looking through a mirror that is supposedly one of the brightest as far as TLRs go (I dread to think of using something dimmer). Finally, I cock the shutter, and then slowly pull down the shutter release lever. I can say I have some very nice people results, but I can also quite categorically state that this camera is not for the sport or candid shooter. Due to this, people shots have gradually made way for a lot more landscape shots, as the frustrations of keeping impatient people in place has taken its toll.
Finally, with regards to the camera itself, it is bulky, and slightly heavy, meaning that although portable, I don’t take it everywhere. There is also the element of fear. What if I lose my impeccably sourced little wonder? What should I take when I am just going round the corner? How many times do I still wish I had taken my camera? Well, it’s quite a lot, which tells me that I need to look smaller again.
Where does this leave me? Well, I feel I now need to support my Ikoflex II in some way, with something tiny, that won’t weigh much. Something I can really put in a pocket. That will be the next chapter.