Your cart is currently empty!
Tag: 35mm
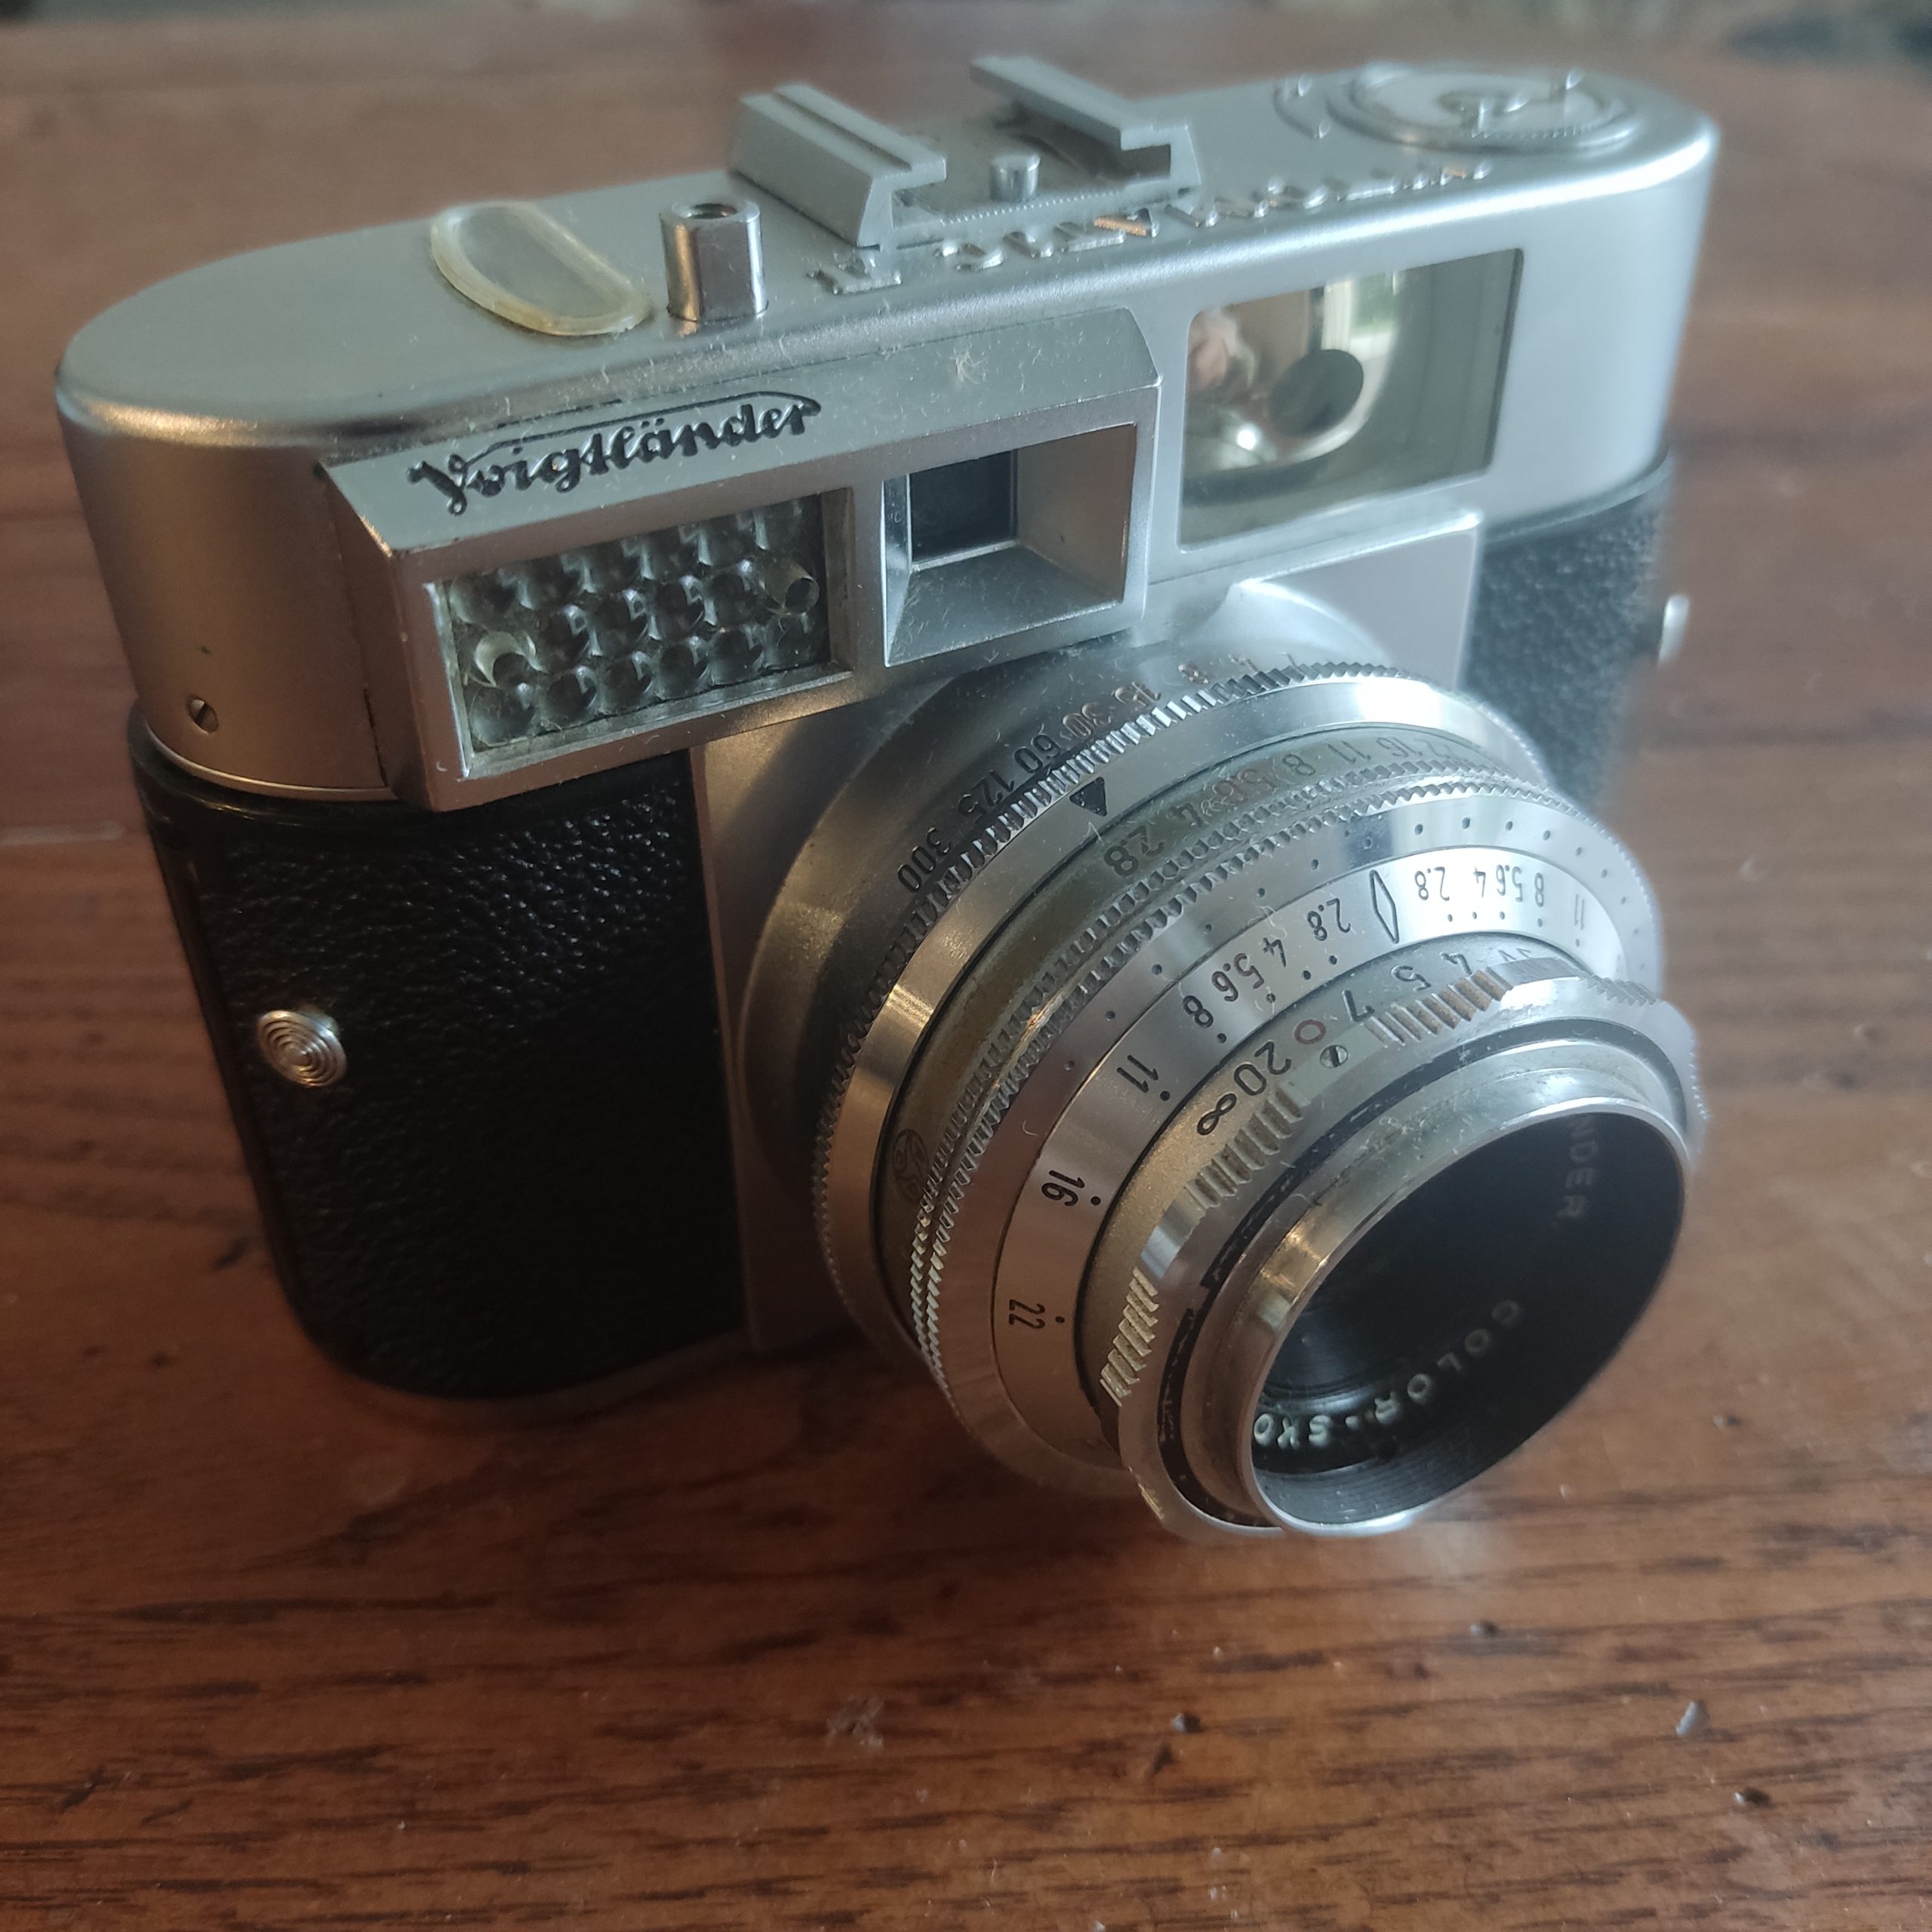
Voigtländer Vitomatic II
The quest for a quick to use, compact, quality film camera (on the cheap) has led me to the Voigtländer Vitomatic II, complete with the Colour Skopar 50/2.8.
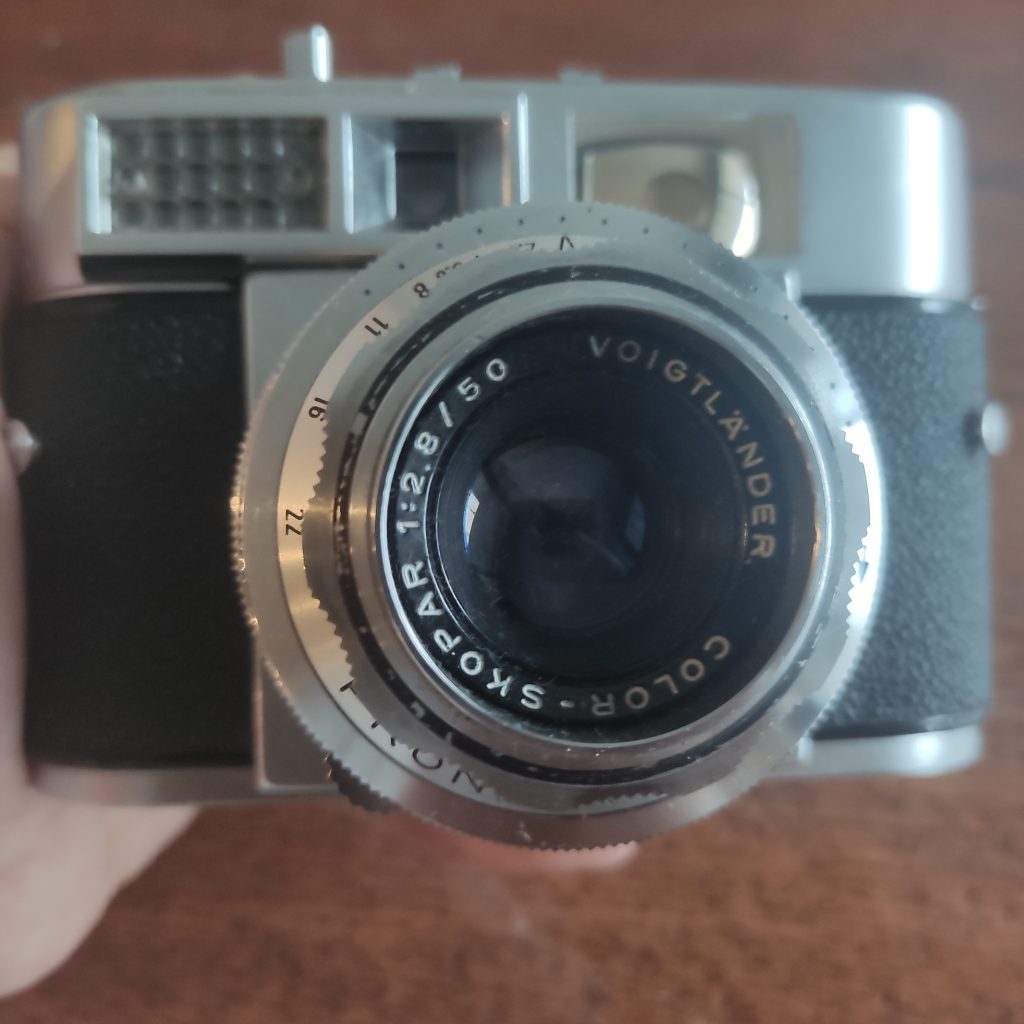
The first point I would like to reference is the build quality. This camera is heavy, and has a wonderful heft to it. It seems to be completely made of metal, not something you see often these days. I also bought a Voigtländer Vito CLR at the same time (a present for a friend), but this arrived with a broken range finder, stiff focus, and a loose, and useless light meter. Perhaps this indicates that the CLRs are lower in quality, but it is only an example of one. The naughty Ricardo seller did not inform me of the broken viewfinder, even though it should have been obvious! Still, I bought two untested cameras on the cheap, and one turned out to be fine, so that’s not bad, although I’ll probably need to buy a different present for my friend!
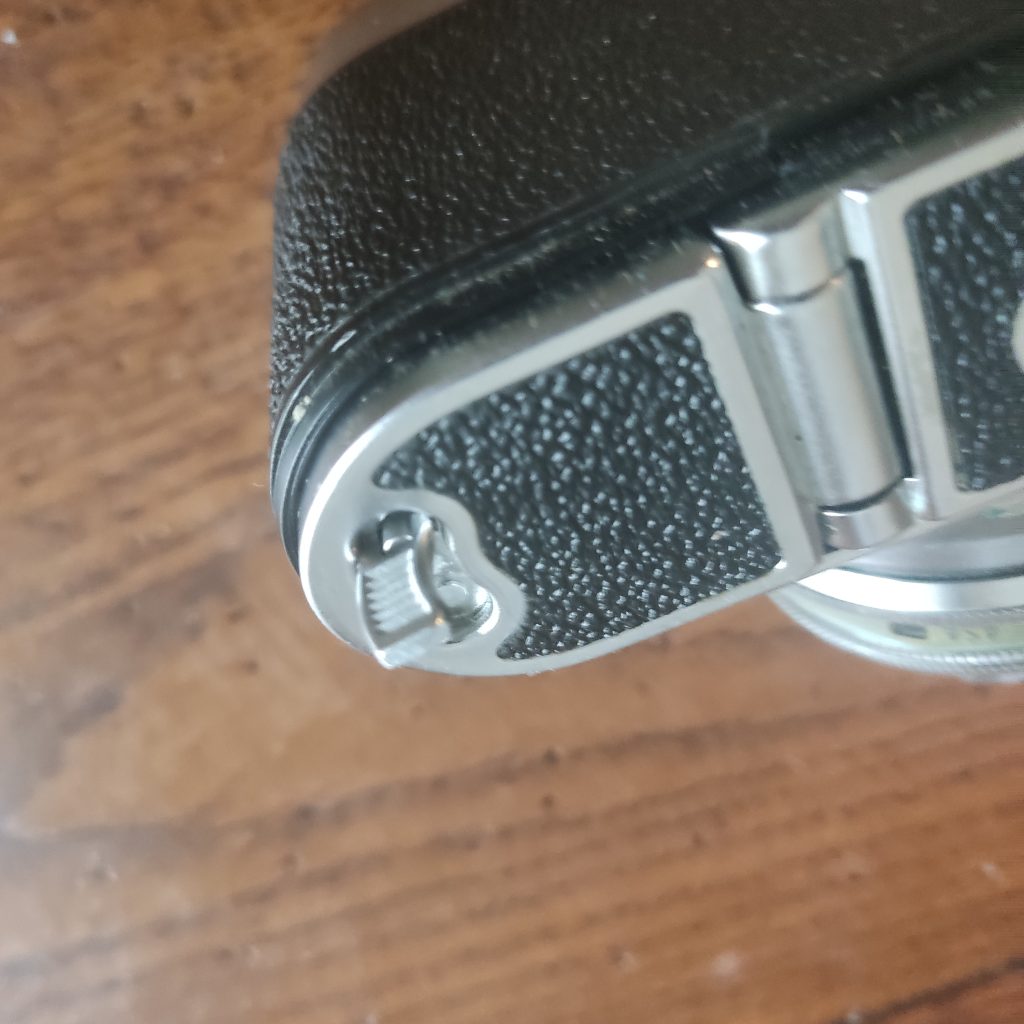
So, back to the Vitomatic, and now it’s usability. Loading the film is reasonably simple. You need to lift and turn a latch on the bottom of the camera, which releases the whole back. Then it’s a case of sliding the film into a slit on the left barrel, then pulling the spool to the right to hook into the space provided. The slit barrel should have been pulled to the left, making the film tight, and with the film perforations sitting on the teeth. At this point it is safe to close.
Following this, you must set the film counter to F (for a spool of 36).
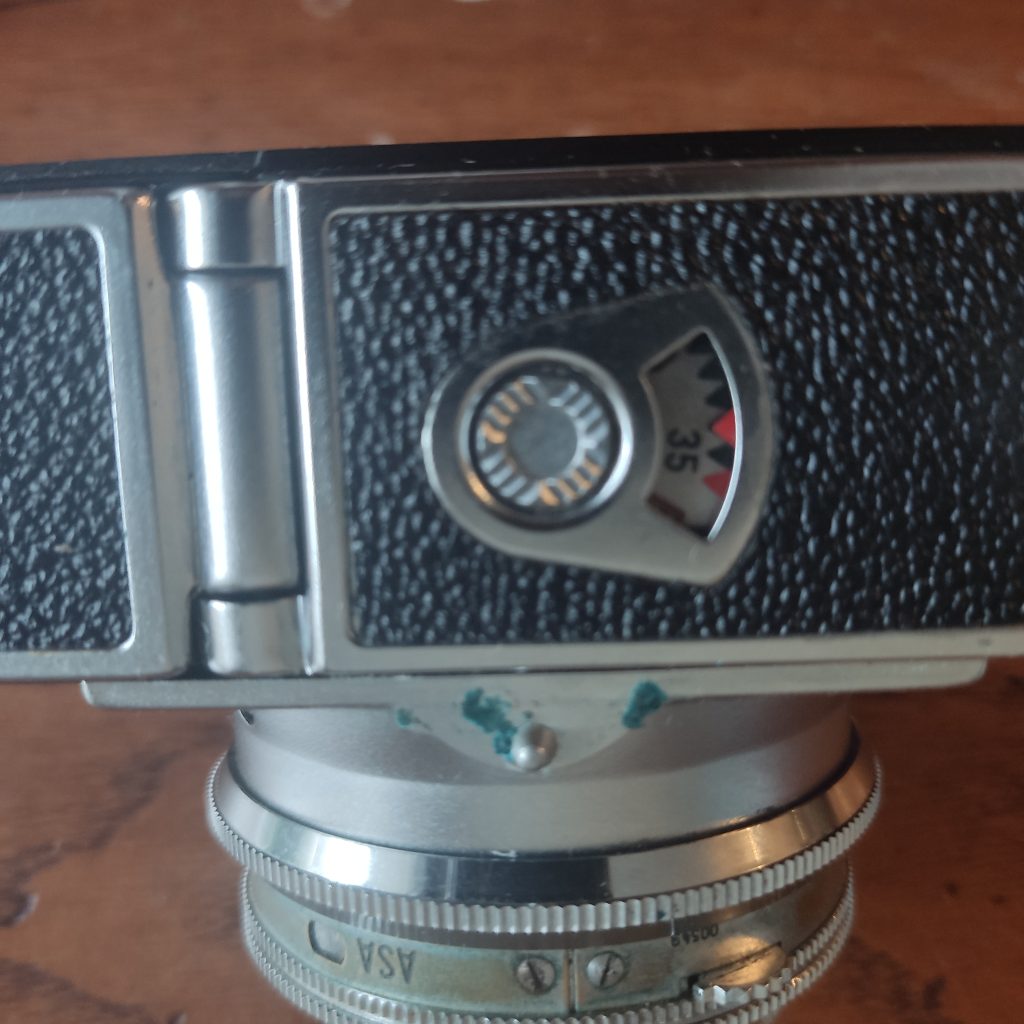
Then ensure your ASA is set to the right number (I had Kodak Golf 200, so I set to 200). To do this, you need to press down the semi-circled, toothed cog, and turn the ring until 200 comes into the ASA window.
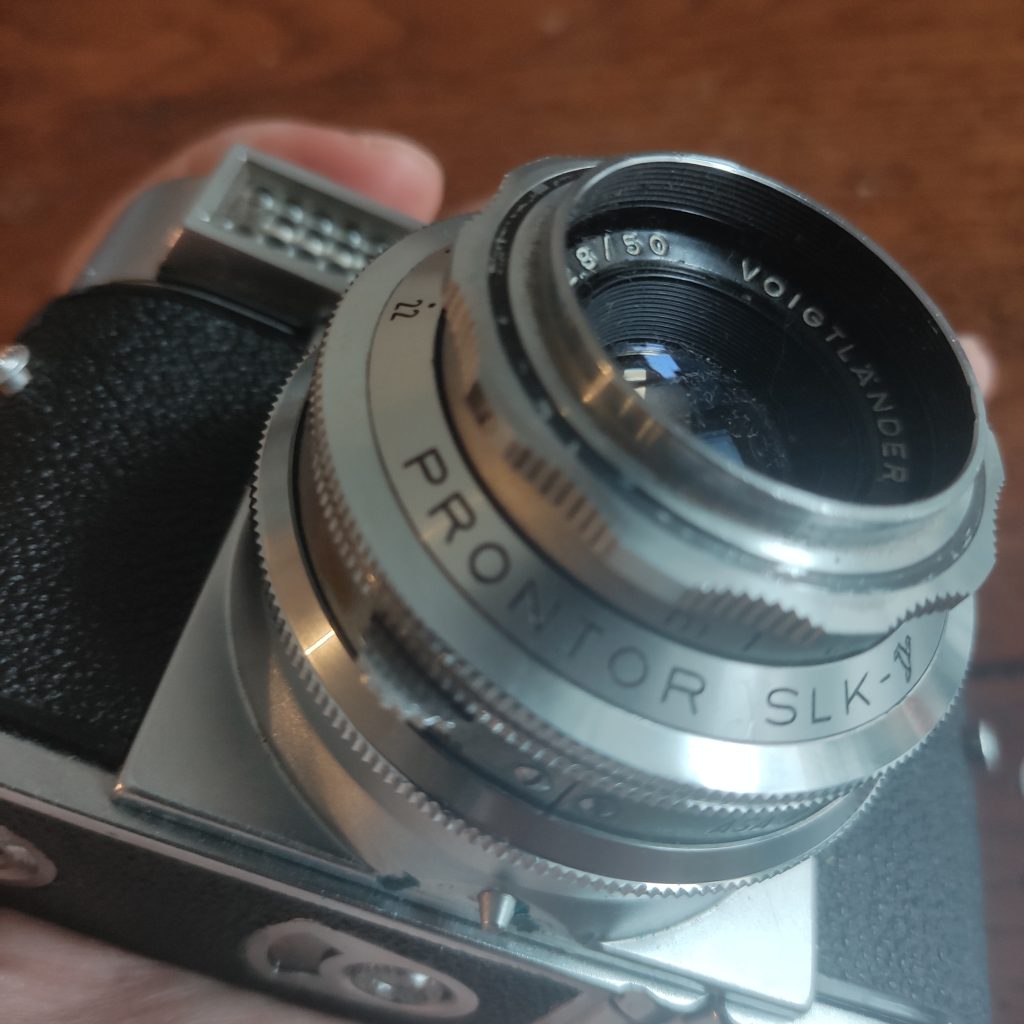
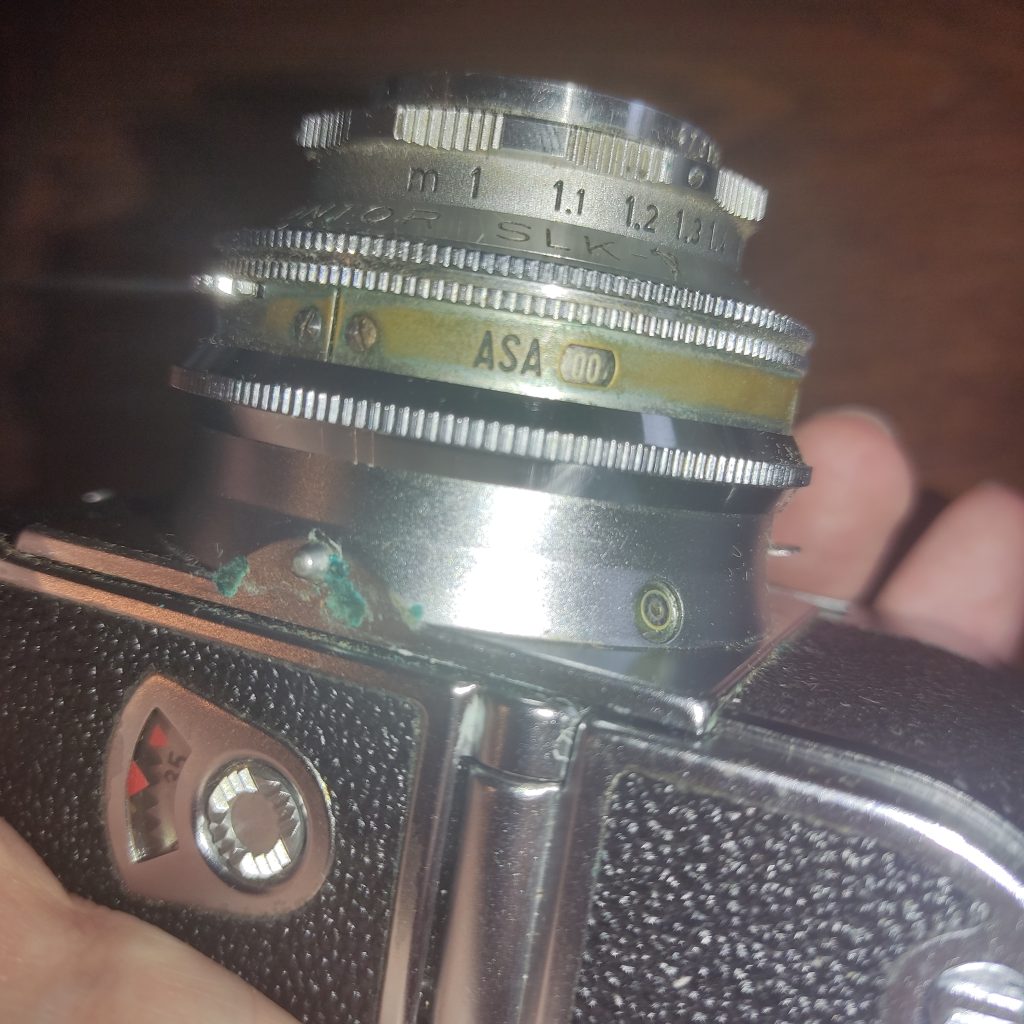
After this, you just need to cock the shutter. This requires pulling back the clip on the back of the camera once or twice until it locks. Simple – now you are ready to shoot.
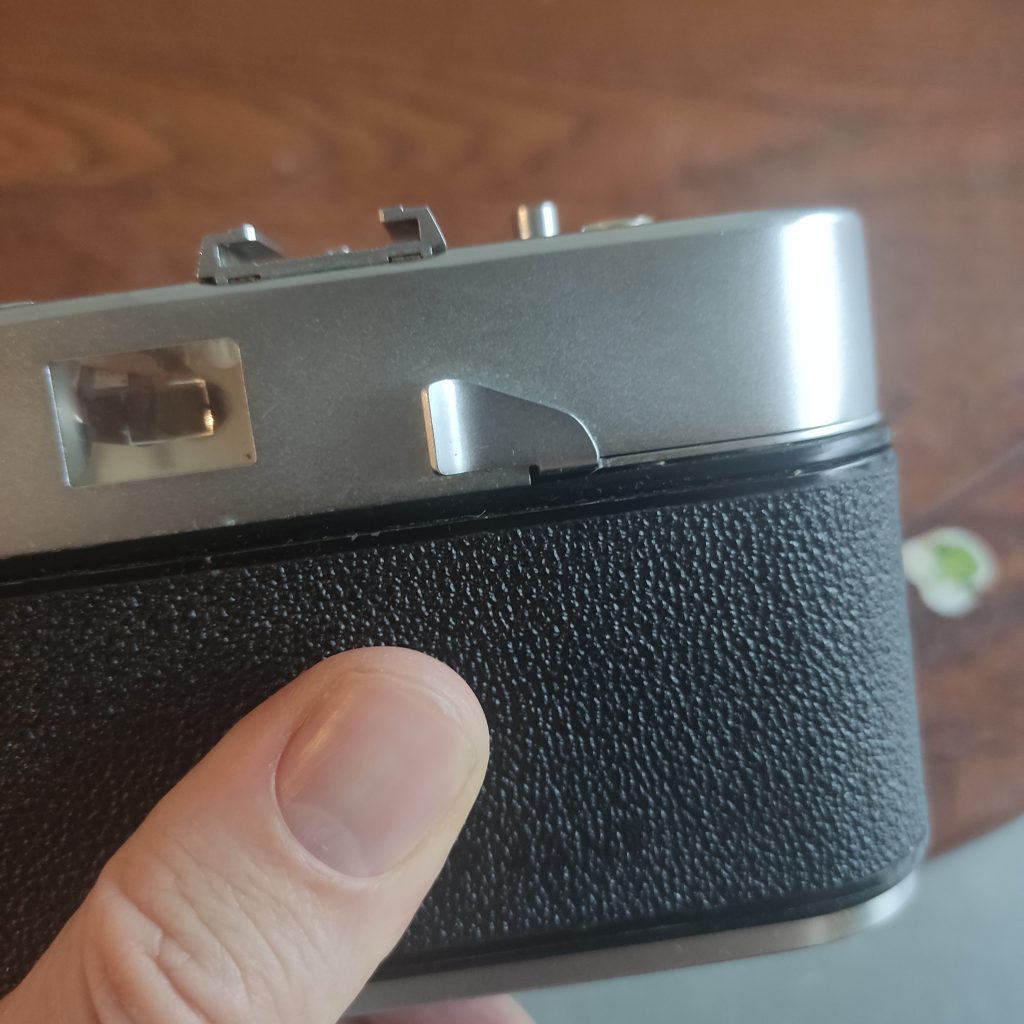
The next step is not so simple, but I hope that it will get easier with practice. This is the focussing step. The camera is a rangfinder, so this means there is a split image which you need to bring into alignment. When I first picked up the camera, I thought it didn’t work. I was peering through the viewfinder, and turning the front focus ring with no effect. Finally, I consulted the online manual, and saw that there should be a central yellow patch that I had to point at a vertical line when holding the camera horizontal, and point at a horizontal line if holding the camera vertically. I was finally able to see a dim ghost image when pointing the yellow dot at vertical lines. Rotating the focus, I could bring this ghost image into alignment with the object I was concentrating on. Voila! The focussing worked! What I would say is that it is hard sometimes to see the ghost image, particularly when it is within the object, such as a face. I think what I will do in future is try to guess the focus distance first, then alter the focus ring manually, then peer through the range finder, concentrate on the right vertical of an object, before turning to the right. This should reveal the ghost image, and I can then turn to the left again, sure if focus.
Of course, you still need to get the right combination of shutter speed and aperture. The camera has a clever way to do this.
First, you must align the light meter eye (a circle) over the light meter needle, so that the needle appears within the circle. You do this by rotating a ring on the lens. Easy peasy.
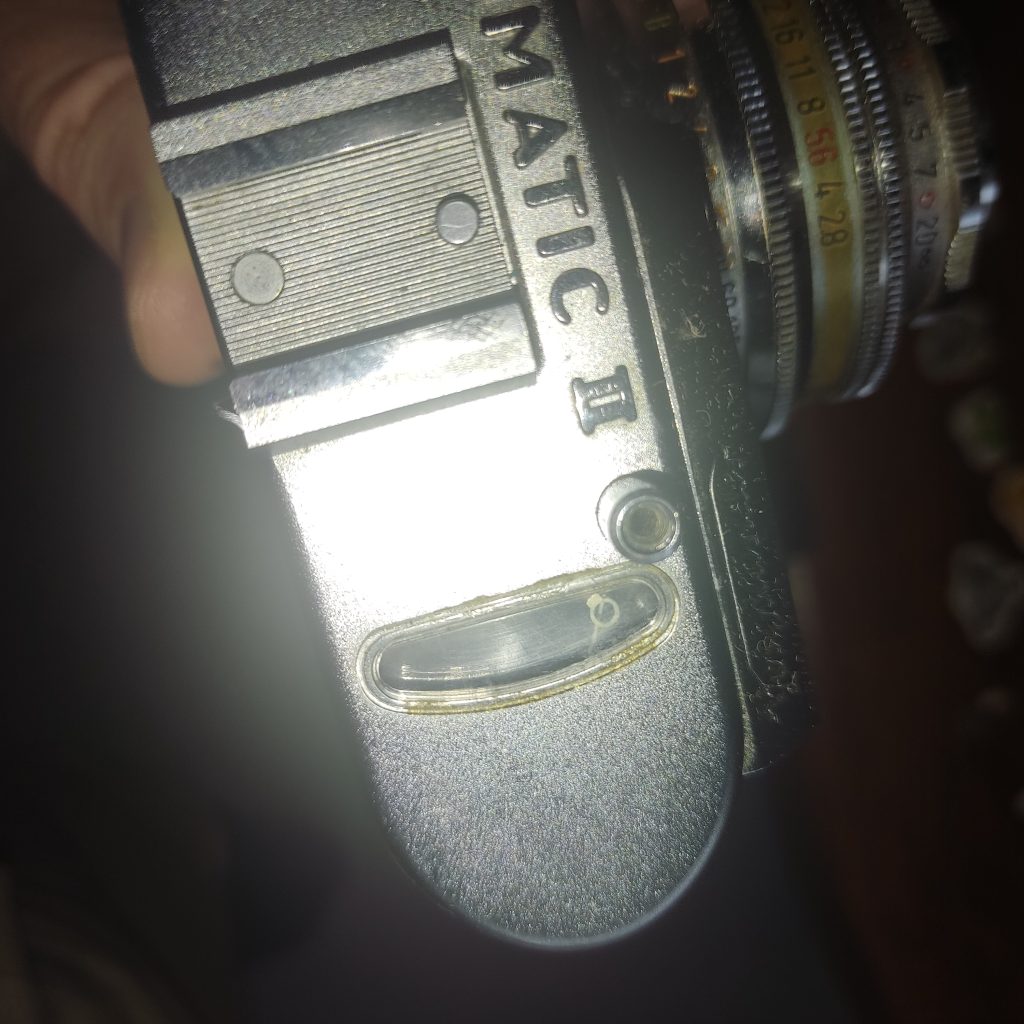
Second, you then select your aperture, shutter speed combo. By rotating the aperture ring on the previous step to align the light meter, you will now have a number of shutter speed aperture combos available to rotate onto by turning the shutter speed dial on the lens. It’s a clever system.
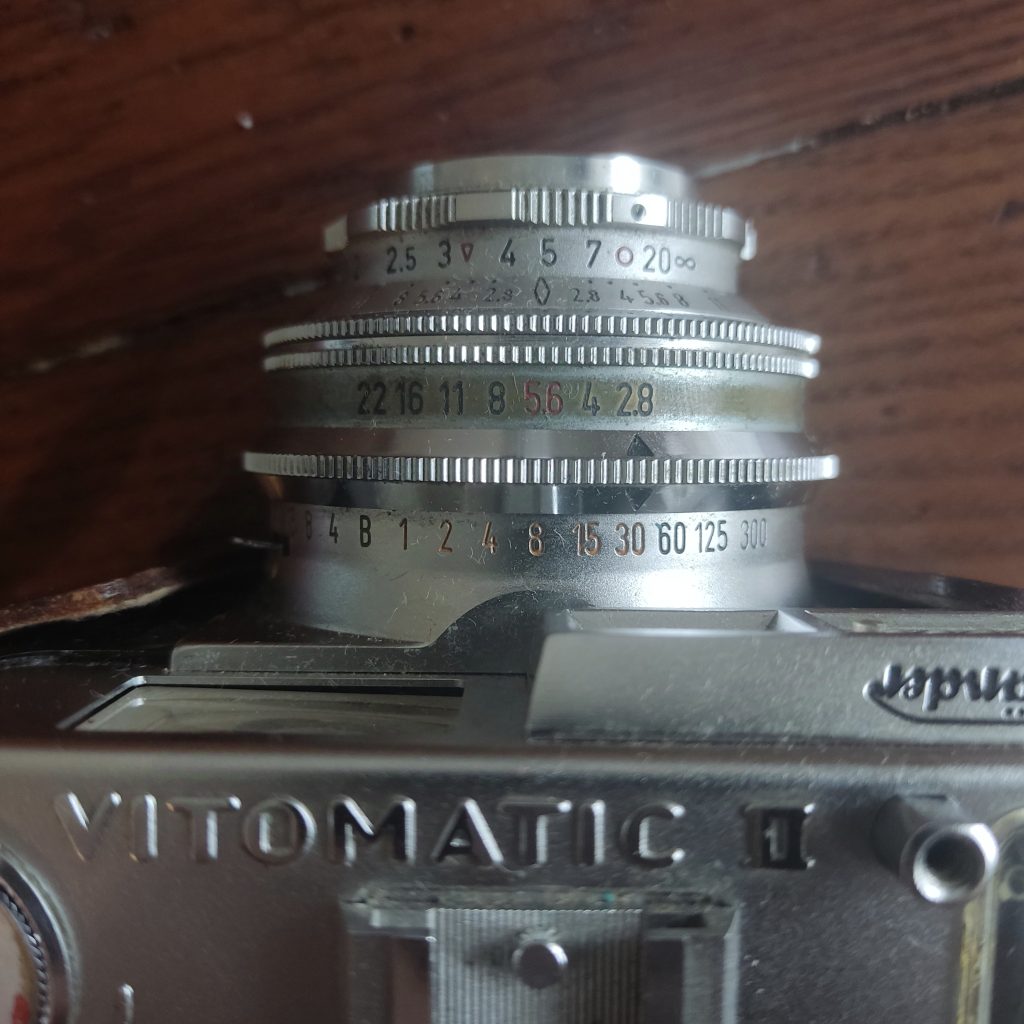
Then it’s a case of pressing down the shutter button. The click isn’t very satisfying, it’s quiet and barely registers. However, this is good for candid photography.
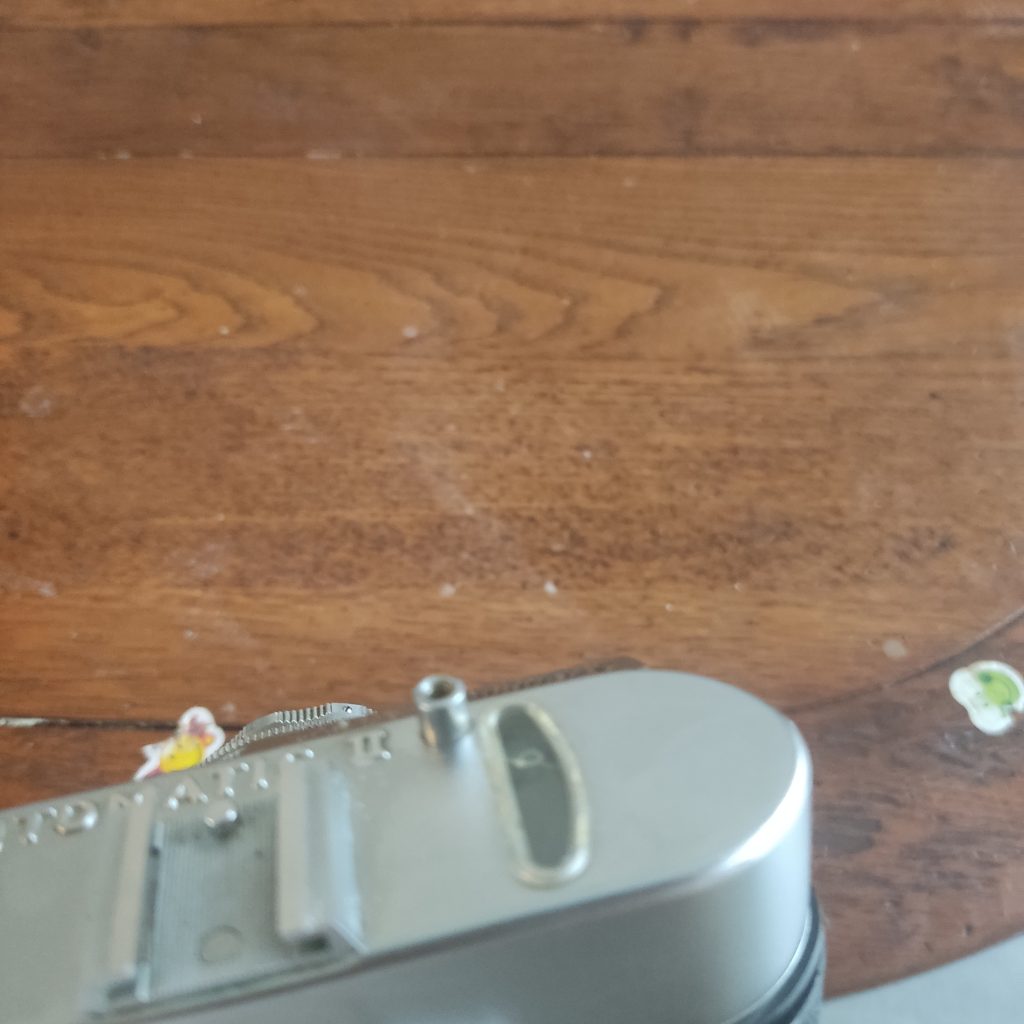
So that’s all the functions. Everything seems to be working on my camera, but I still need to put a whole roll through it. There are still a few things that could go wrong: an inaccurate light meter; slow shutter speed. But I hope that I get some good pictures back.
I will update with the results as soon as I can print some pictures. I don’t just post photos on the internet anymore, it needs to be in print form. This protects the image from algorithm and normal theft, and also encourages me to actually print the photos! Physical media trumps the virtual – it’s so much nicer to flick through an album than look at your Instagram, plus it helps to prevent ego bloat.